Downloading Real-world DEMs to use in Photoshop
This guide will show where to obtain high resolution DEM data and convert it using QGIS and command-line GDAL to a usable format for use in Photoshop. The data we will be downloading is best used for continental to global scale maps. The resolution is something like 40-230 meters per pixel, depending on the latitude.
For this tutorial, we will assemble a full heightmap of Australia.
Downloading the Data from USGS’s EarthExplorer
First, create an account at https://earthexplorer.usgs.gov/. It is also very useful to download and install the Bulk Downloader application.
At the time of writing this, USGS seems to be having issues with providing a download link to the bda application, but hopefully that will be fixed in the near future.
After logging in, return to the main page.
Begin a search by specifying the search limits. I like to navigate to where I want to search in the map view, then click the “Use Map” feature to define the search area.
Next, navigate to the Data sets tab. Select Digital Elevation -> GMTED2010.
At this point, you can skip to the results tab to initiate the search and show results. The results controls drop down is useful for showing the footprints of each data set in the map view.
Select the data sets you want, and either download them individually, or use the bulk downloader to download multiple sets at once. You’ll want the 7.5-arcsecond data, as that is the highest resolution.
Merging the Data in QGIS
If you have not already done so, install QGIS
Unzip all the data sets, then open QGIS.
Go to Layer -> Add Layer -> Add Raster Layer (or use Ctrl + Shift + R)
Click the ellipses to browse and navigate to the data sets. Select and add each *__gmted_mea075.tif file.
At this point, you should have something that looks like:
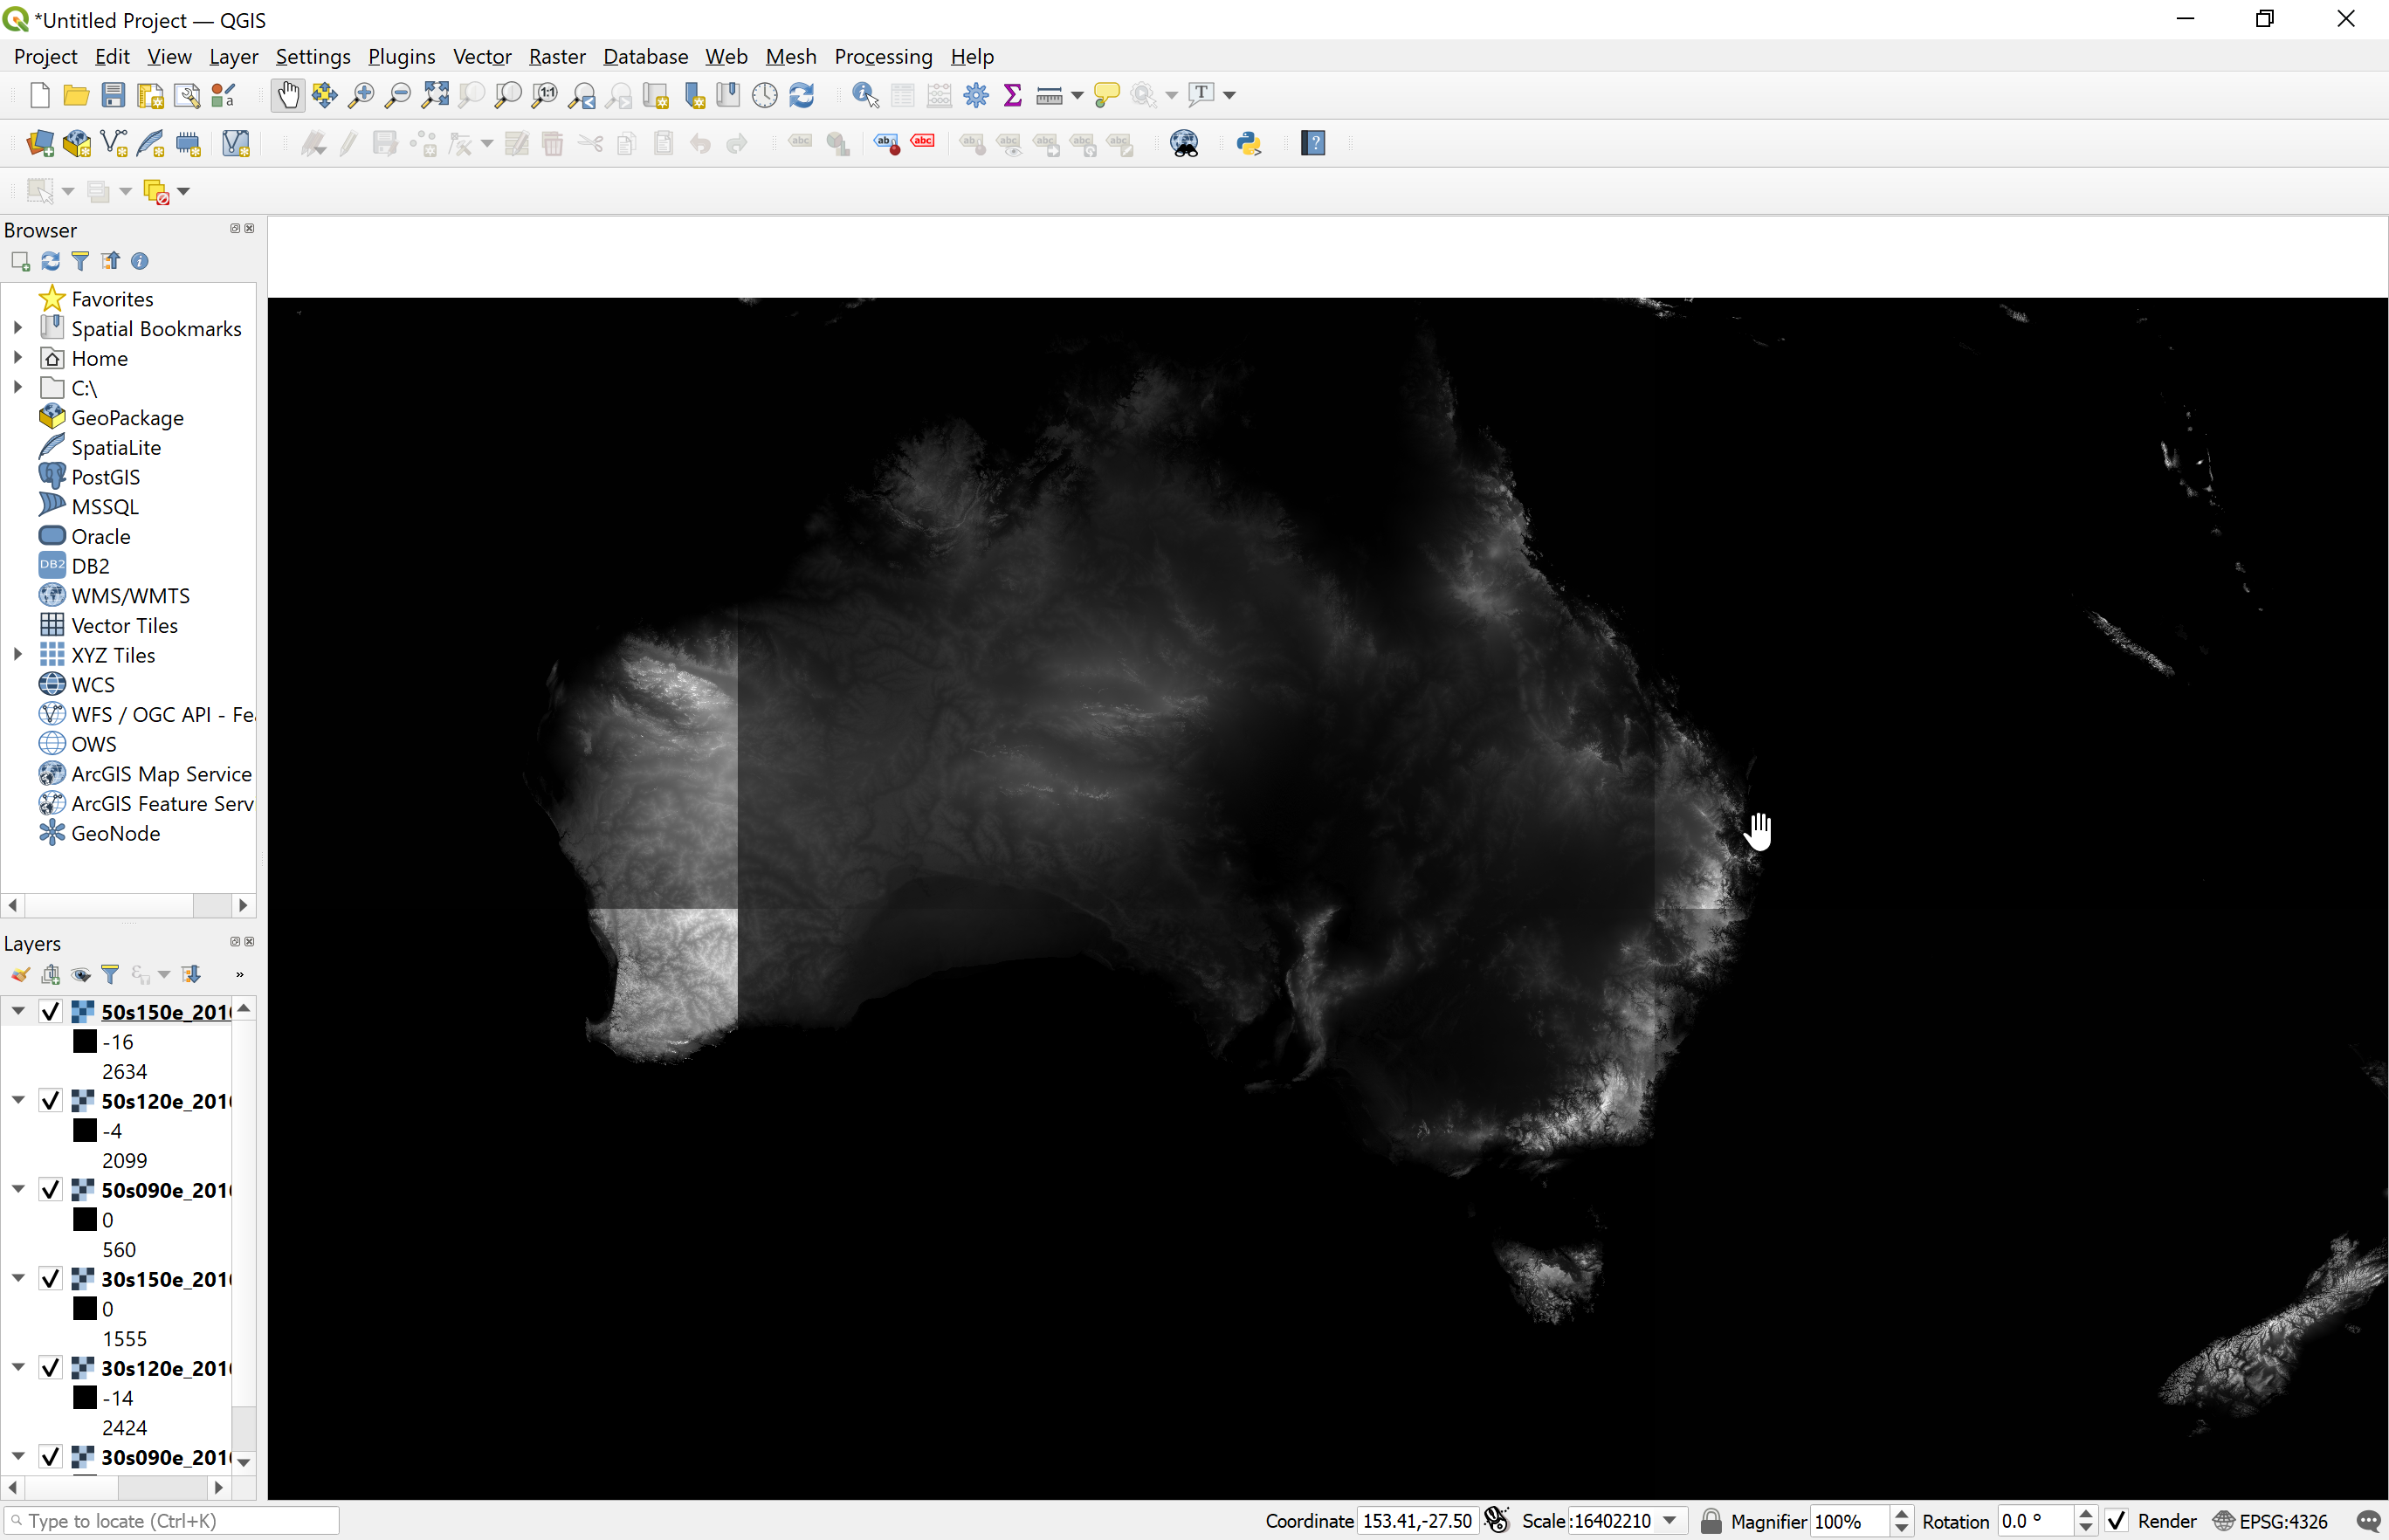
(Hey look, New Zealand is in our map!)
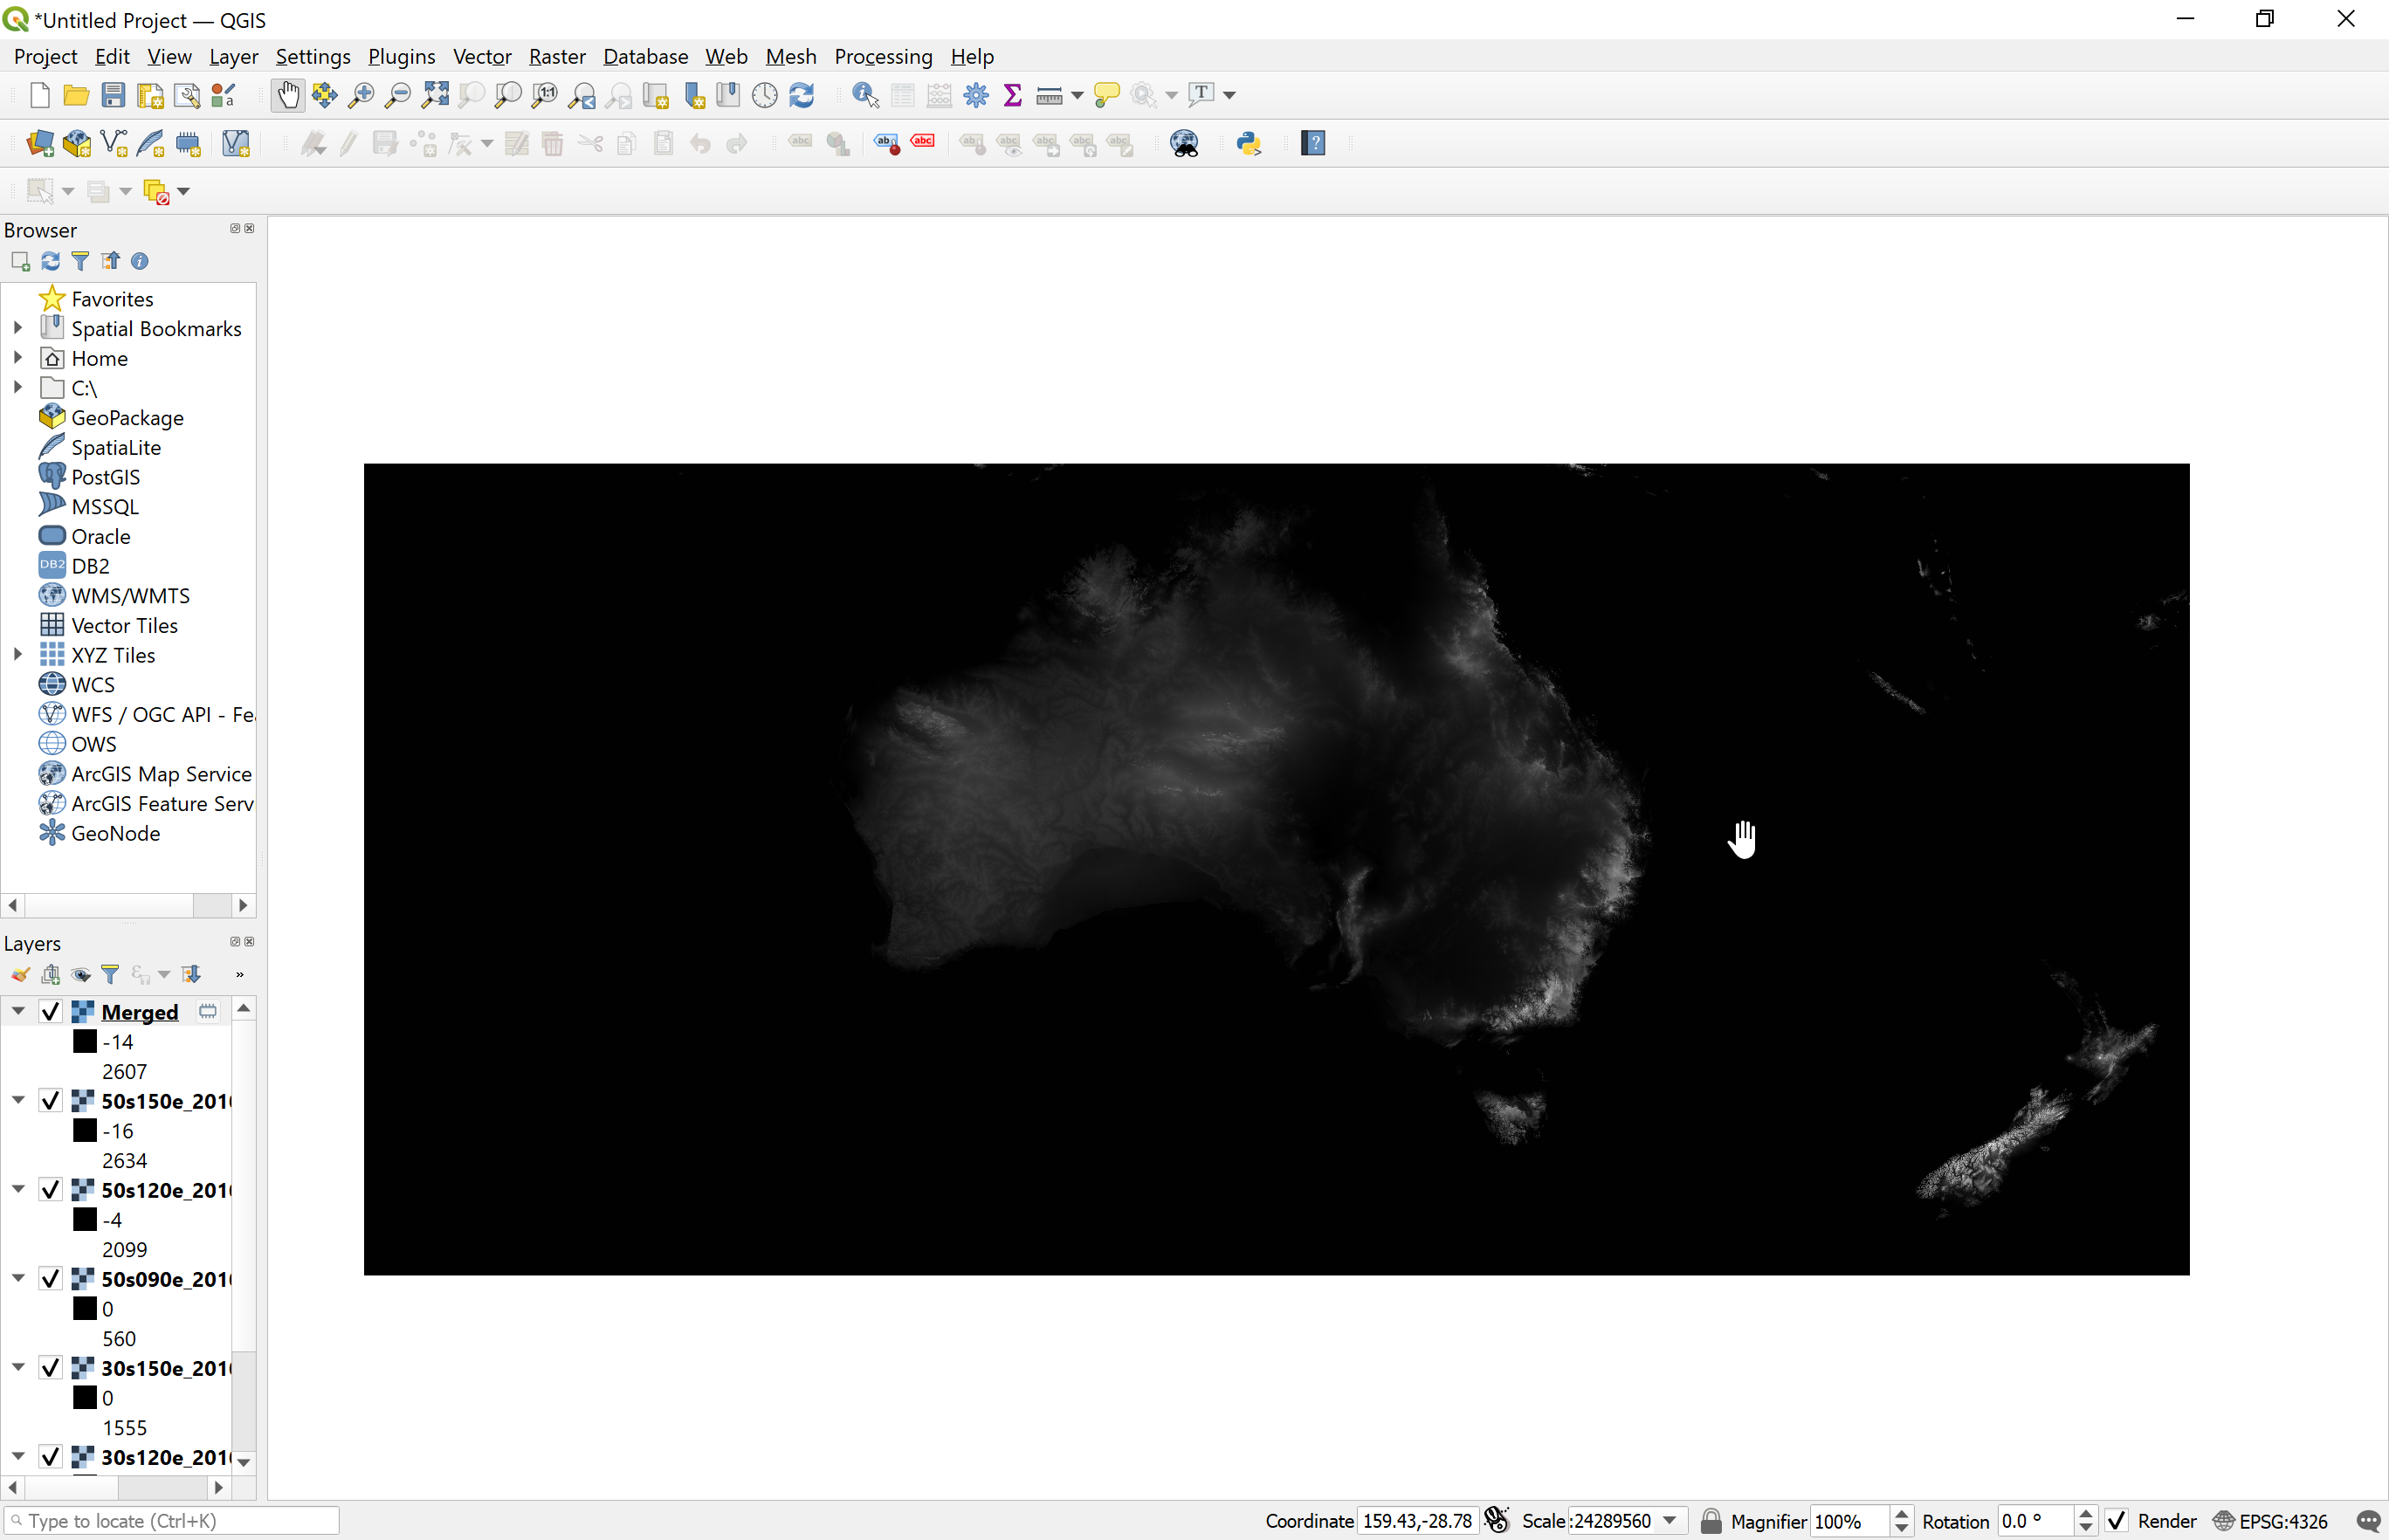
The first problem we need to solve is that each data set tile is not properly level set to its neighbors. Fortunately there is a QGIS tool for that!
Run Raster -> Miscellaneous -> Merge. Use the ellipses to select all layers in the project, then click run. It may take a few minutes, but the end result should look like this:
OPTIONAL STEP: As an optional step, you can reproject the data before saving and exiting QGIS. The original data, I believe, is in equirectangular format.
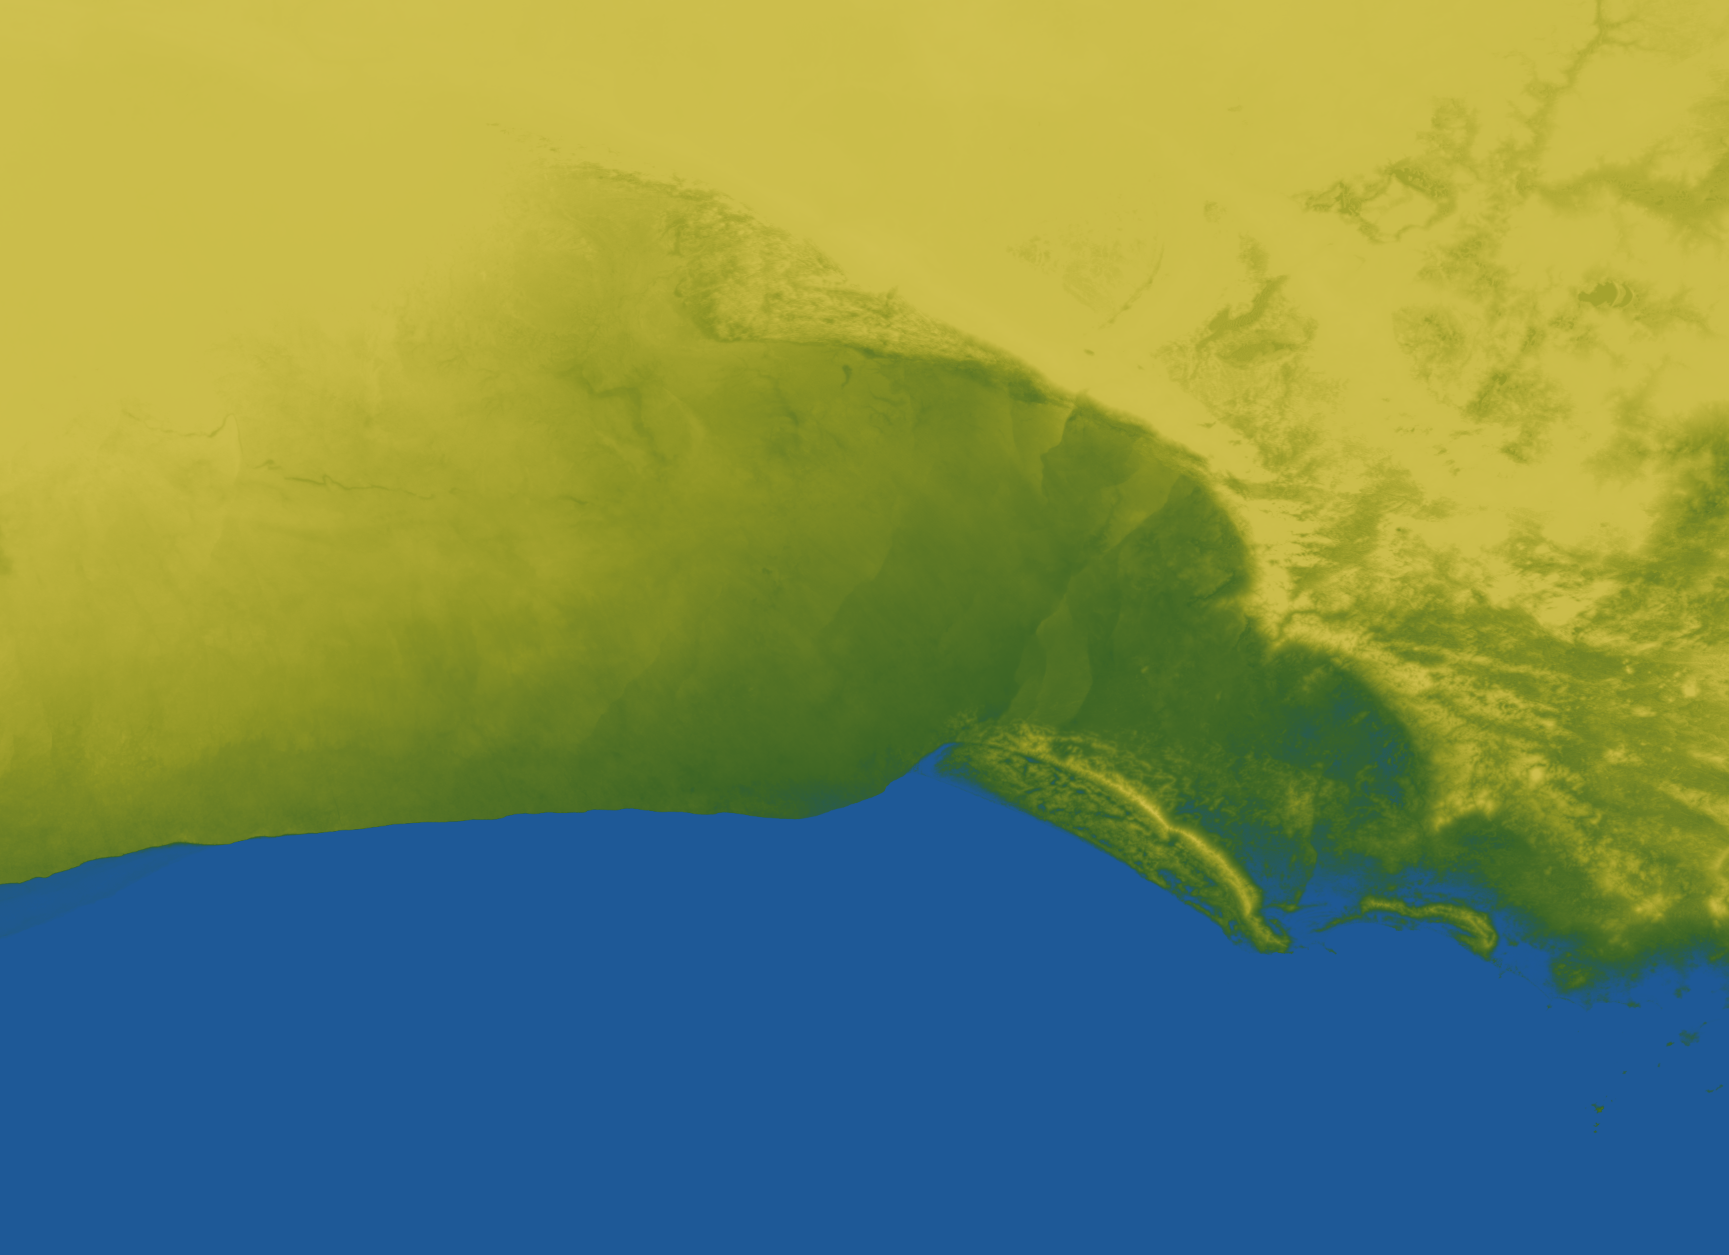
To do this, run Raster -> Projections -> Warp (Reproject). Under the Target CRS option, select the icon to the right to choose from pre-defined CRS’s (If checked, uncheck the “No CRS” option). I searched in the Filter box for “Australia” and found GDA94 / Australian Albers—works for me! (disclaimer: I am not a GIS/mapping expert). Select run to process the reprojection command. This will almost certainly take a long time.
To export from QGIS, right-click on the layer that you want to export (this layer will probably be called “merged” or “Reproject”), go to Export -> Save As. Enter the file name you want to save it as and click okay. I called mine “australia_merged.tif”
Converting the Data Using GDAL
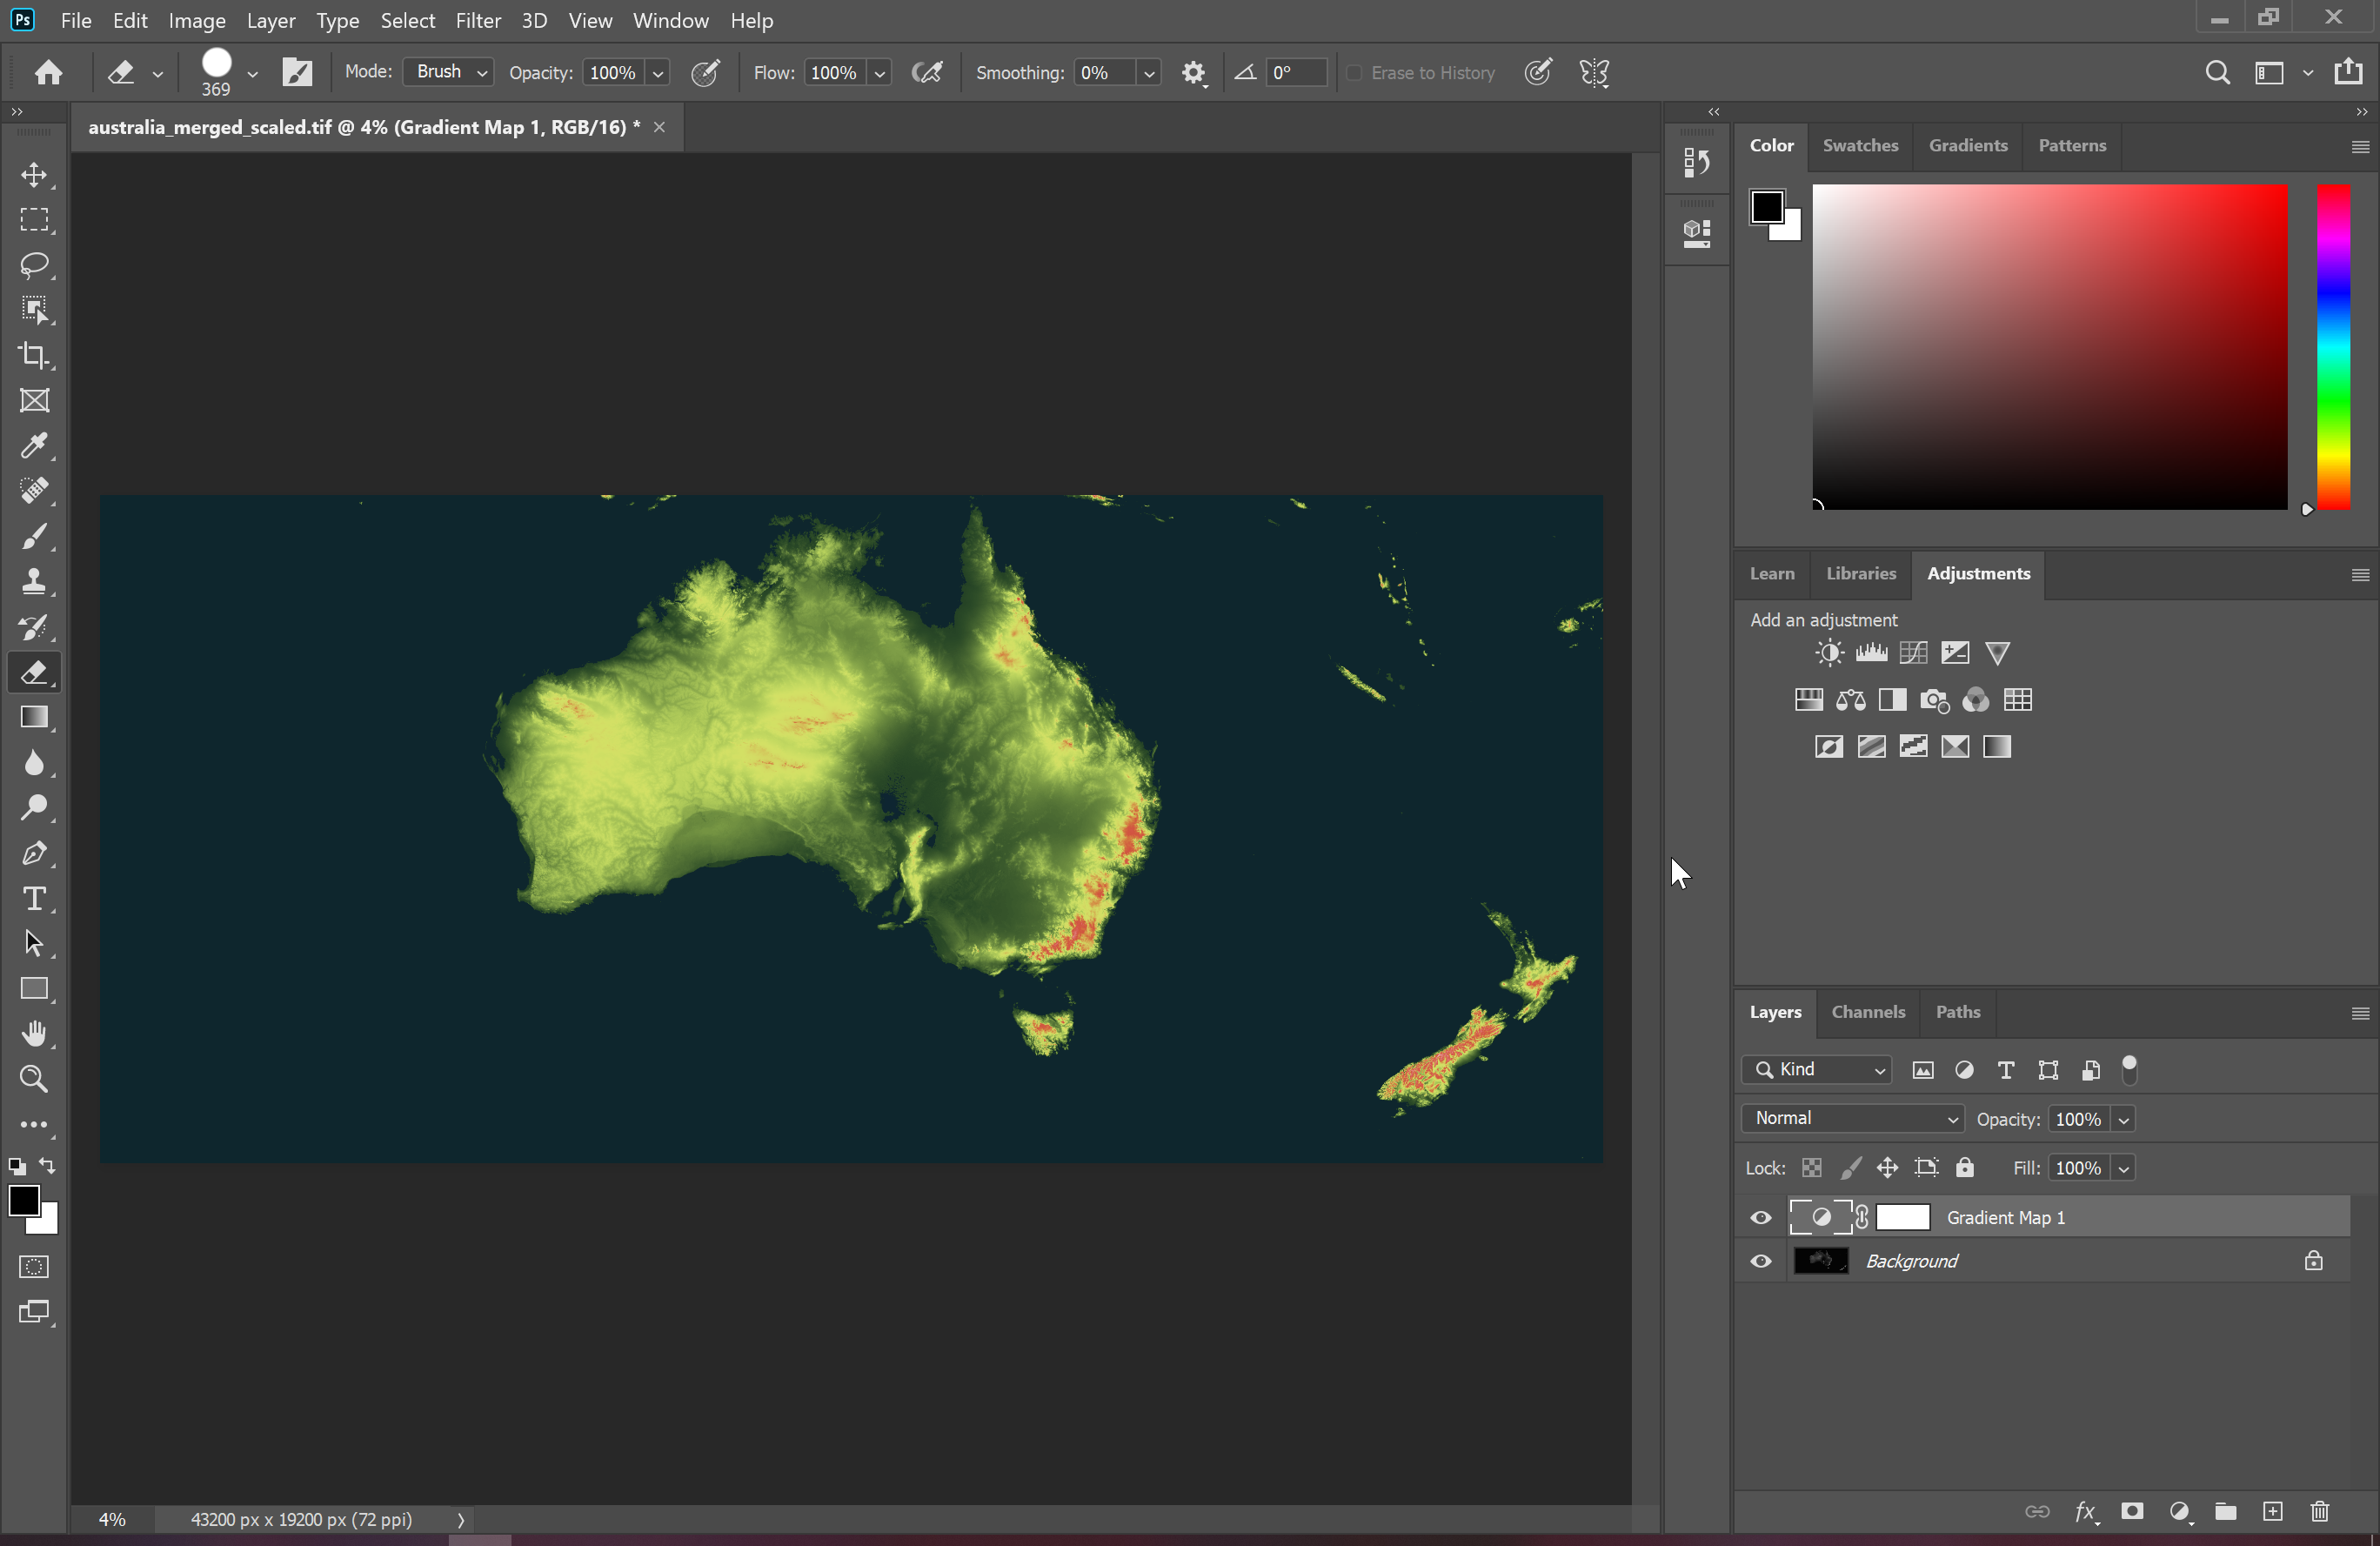
At this point, you may be tempted to open up the tif in Photoshop and be off to the races. More likely than not, photoshop will greet you with an entirely black image if you do this. That is because the data in the tif is scaled differently than what photoshop expects.
For this last step, I use GDAL from the command line: https://gdal.org/. You can install GDAL using Conda forge: https://anaconda.org/conda-forge/gdal, or if you are a masochist like me you can build and install it from source :)
It has been pointed out to me that you can export a rendered image from QGIS that will already be scaled properly for opening in Photoshop. I tested this, and unfortunately the output is 8-bit. My method using GDAL will leave you with a 16-bit image, which has much more fidelity, especially important at low elevation (256 levels of gray vs. 65536 levels of gray). To illustrate this, here are two images—one is 8-bit, the other is 16-bit. In grayscale, it can be hard to see the difference, so I’ve overlayed a color gradient in photoshop. Notice the distinct “stepping” or “posterizing” of the elevation levels. This is what we want to avoid.
8-bit
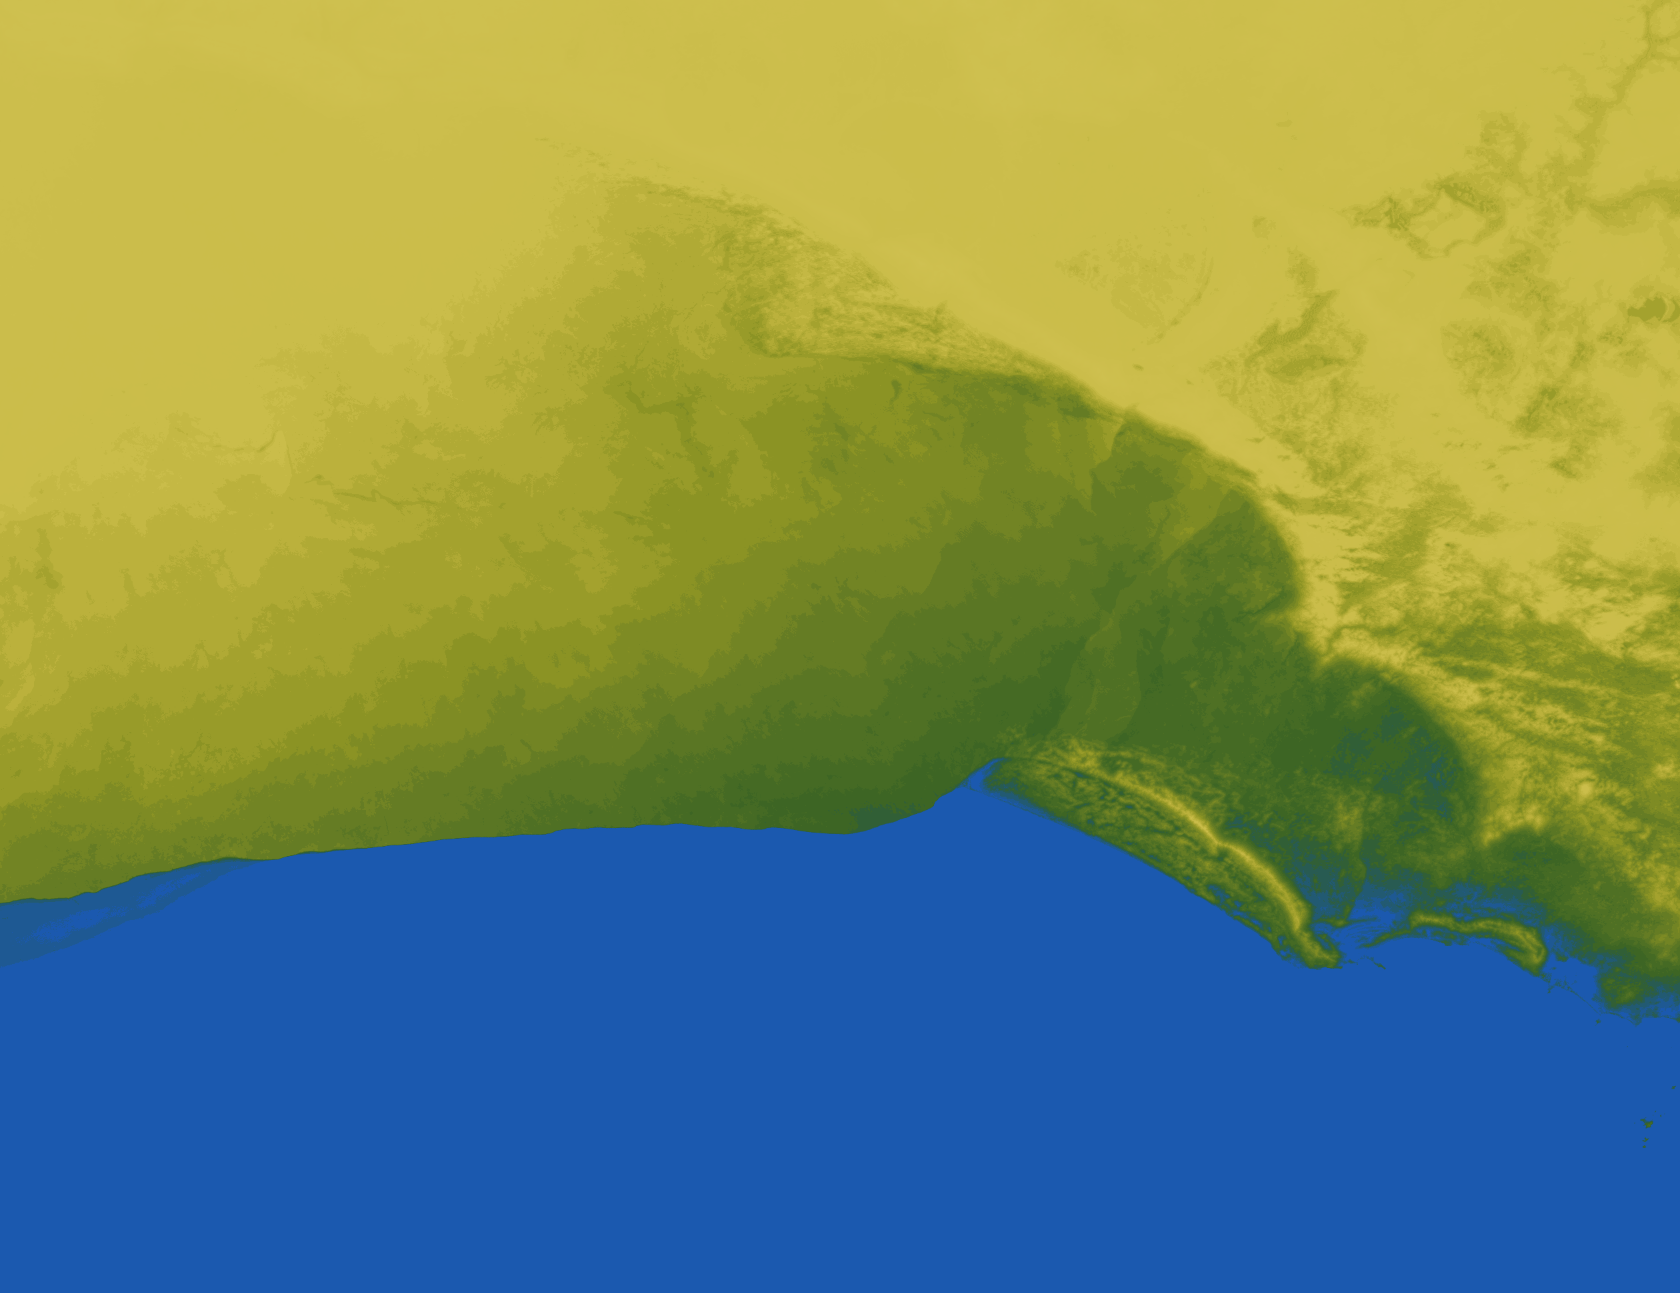
16-bit
Open a command line prompt where you saved the tif export from QGIS.
Run the command:
gdalinfo -mm australia_merged.tif
You should see output that looks something like:
Driver: GTiff/GeoTIFF
Files: australia_merged.tif
Size is 43200, 19200
Coordinate System is:
GEOGCRS["WGS 84",
    DATUM["World Geodetic System 1984",
        ELLIPSOID["WGS 84",6378137,298.257223563,
            LENGTHUNIT["metre",1]]],
    PRIMEM["Greenwich",0,
        ANGLEUNIT["degree",0.0174532925199433]],
    CS[ellipsoidal,2],
        AXIS["geodetic latitude (Lat)",north,
            ORDER[1],
            ANGLEUNIT["degree",0.0174532925199433]],
        AXIS["geodetic longitude (Lon)",east,
            ORDER[2],
            ANGLEUNIT["degree",0.0174532925199433]],
    ID["EPSG",4326]]
Data axis to CRS axis mapping: 2,1
Origin = (89.999861111000001,-10.000138889000000)
Pixel Size = (0.002083333333333,-0.002083333333333)
Metadata:
  AREA_OR_POINT=Area
Image Structure Metadata:
  INTERLEAVE=BAND
Corner Coordinates:
Upper Left  (  89.9998611, -10.0001389) ( 89d59'59.50"E, 10d 0' 0.50"S)
Lower Left  (  89.9998611, -50.0001389) ( 89d59'59.50"E, 50d 0' 0.50"S)
Upper Right ( 179.9998611, -10.0001389) (179d59'59.50"E, 10d 0' 0.50"S)
Lower Right ( 179.9998611, -50.0001389) (179d59'59.50"E, 50d 0' 0.50"S)
Center      ( 134.9998611, -30.0001389) (134d59'59.50"E, 30d 0' 0.50"S)
Band 1 Block=43200x1 Type=Float32, ColorInterp=Gray

    Computed Min/Max=-61.000,3159.000
The computed Min/Max is what we are after.
For a 16-bit grayscale image, the min/max values should be 0 (black) and 65535 (white). To change the min/max values of our tif, we can run:
gdal_translate -ot UInt16 -scale -61.000 3159.000 0 65535 australia_merged.tif australia_merged.tif
Congratulations! You now have a tif that you can open in Photoshop (along with Gimp, or Affinity Photo, I presume). You can repeat this process for other continents. I have North and South America, Eurasia, and Africa also completed using this process to give me lots of resources to pull from when creating custom heightmaps.