Vector Patterns in Affinity Designer
After having used Adobe Illustrator and Affinity Designer extensively for making atlas-style maps, I came to the conclusion that Illustrator just could not handle the sheer amount of points in my maps. It would slow to a crawl, and panning/zooming around the document would be extraordinarily painful. Affinity Designer is just way more optimized, and handles my huge documents with relative ease. Not to mention the fact that the Windows version of Illustrator does not support touchscreens very well (I use a Surface Pro 7), while Affinity Designer has the ability to use touch only for gestures.
This conclusion bummed me out for a few reasons, not the least of which was the fact that there is no way to have vector pattern fills in Affinity Designer. In Illustrator, the pattern creation interface is really sleek, and it is so easy to save a pattern as a swatch and fill shapes of all different sizes with it.
Pattern fills for mapmaking are great because I can use them to show different types of terrain that aren’t apparent from the topography, such as wooded areas or sandy deserts, and not having this ability was a huge downside to using Affinity. Until now, at least.
My Affinity Designer trial finally ran out today, so I went ahead and purchased a license. Included with my purchase was this brush and texture pack: Fine Liner - Affinity Brushes. This pack includes instructions for using their texture pack, which is really just a huge square document with a vector pattern filling the entire thing. The idea is that you drag this square into your document, and then mask it using drawn curves. When I saw this, it hatched an idea to create patterns in Illustrator, and then use them in Affinity.
Creating a Pattern in Illustrator
I’m not going to go over this in detail, since adobe has a decent tutorial on how to do this.
Basically, once I have my pattern swatch, I can create a document called wooded_area.ai, which I just made arbitrarily large, something like 10,000x10,000 px.
Then, I create a rectangle, filling the entire artboard, and fill it with the pattern. I end up with something like this:
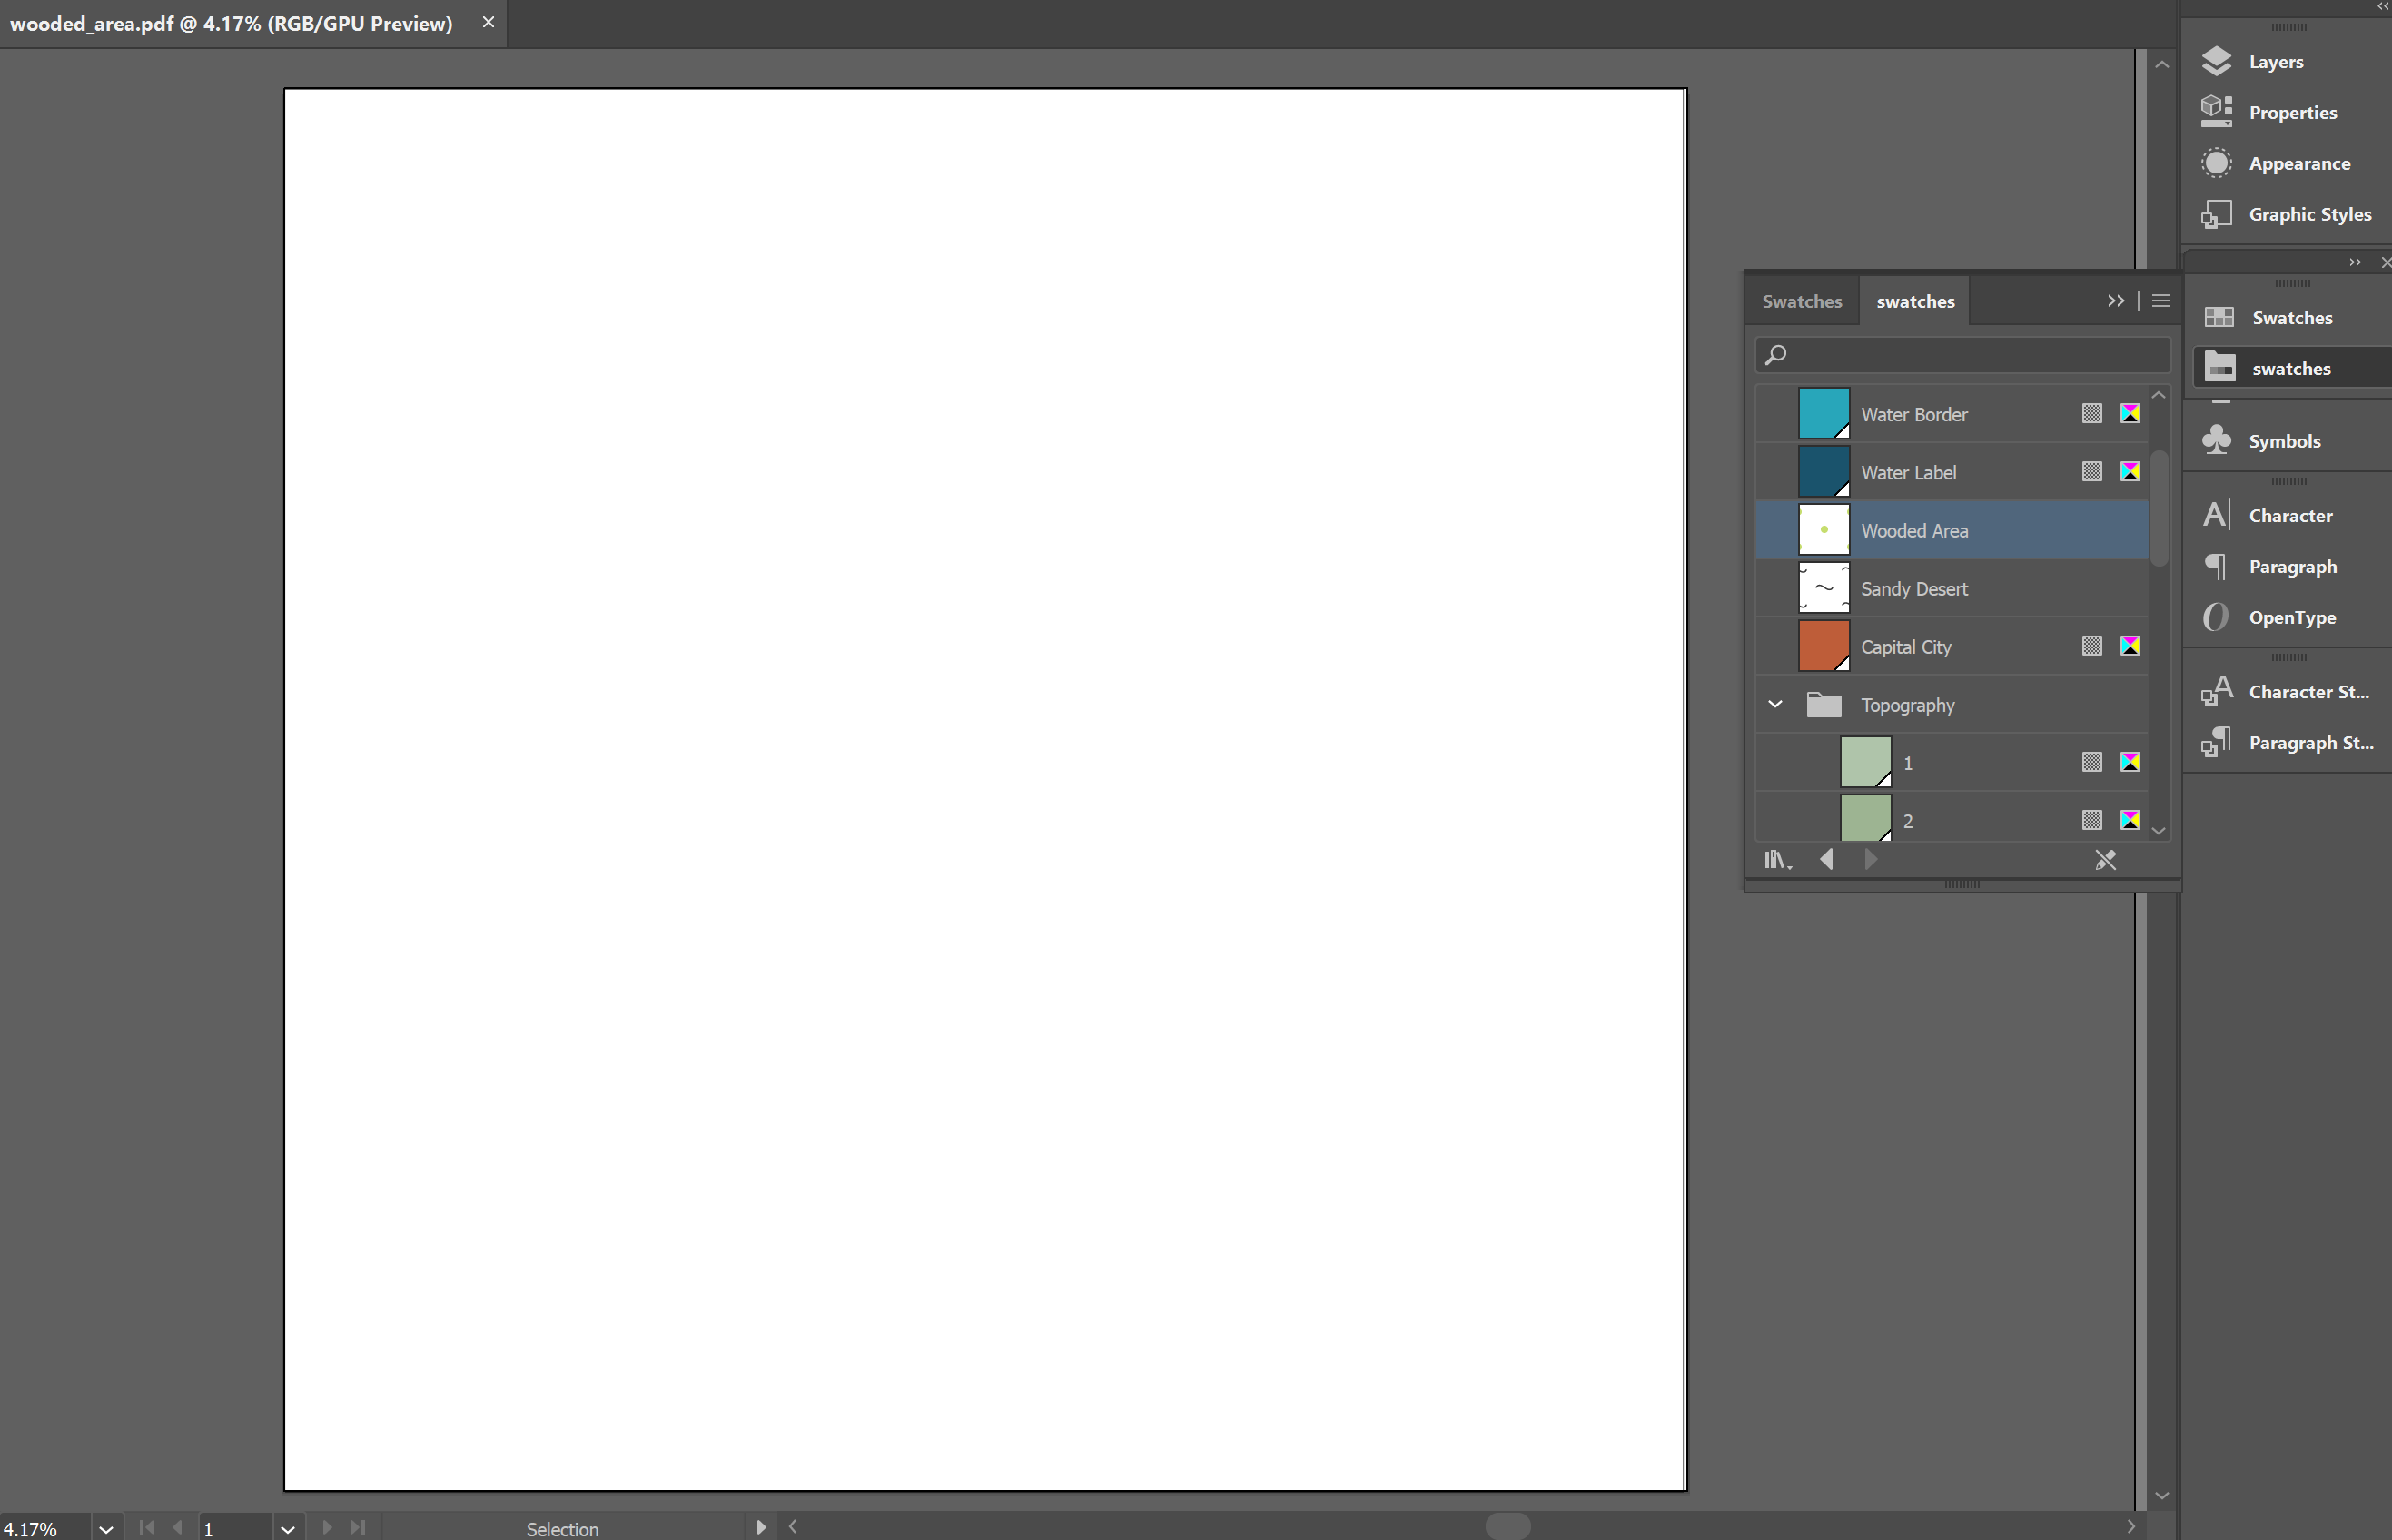
Can’t see anything? Right, let me zoom in:
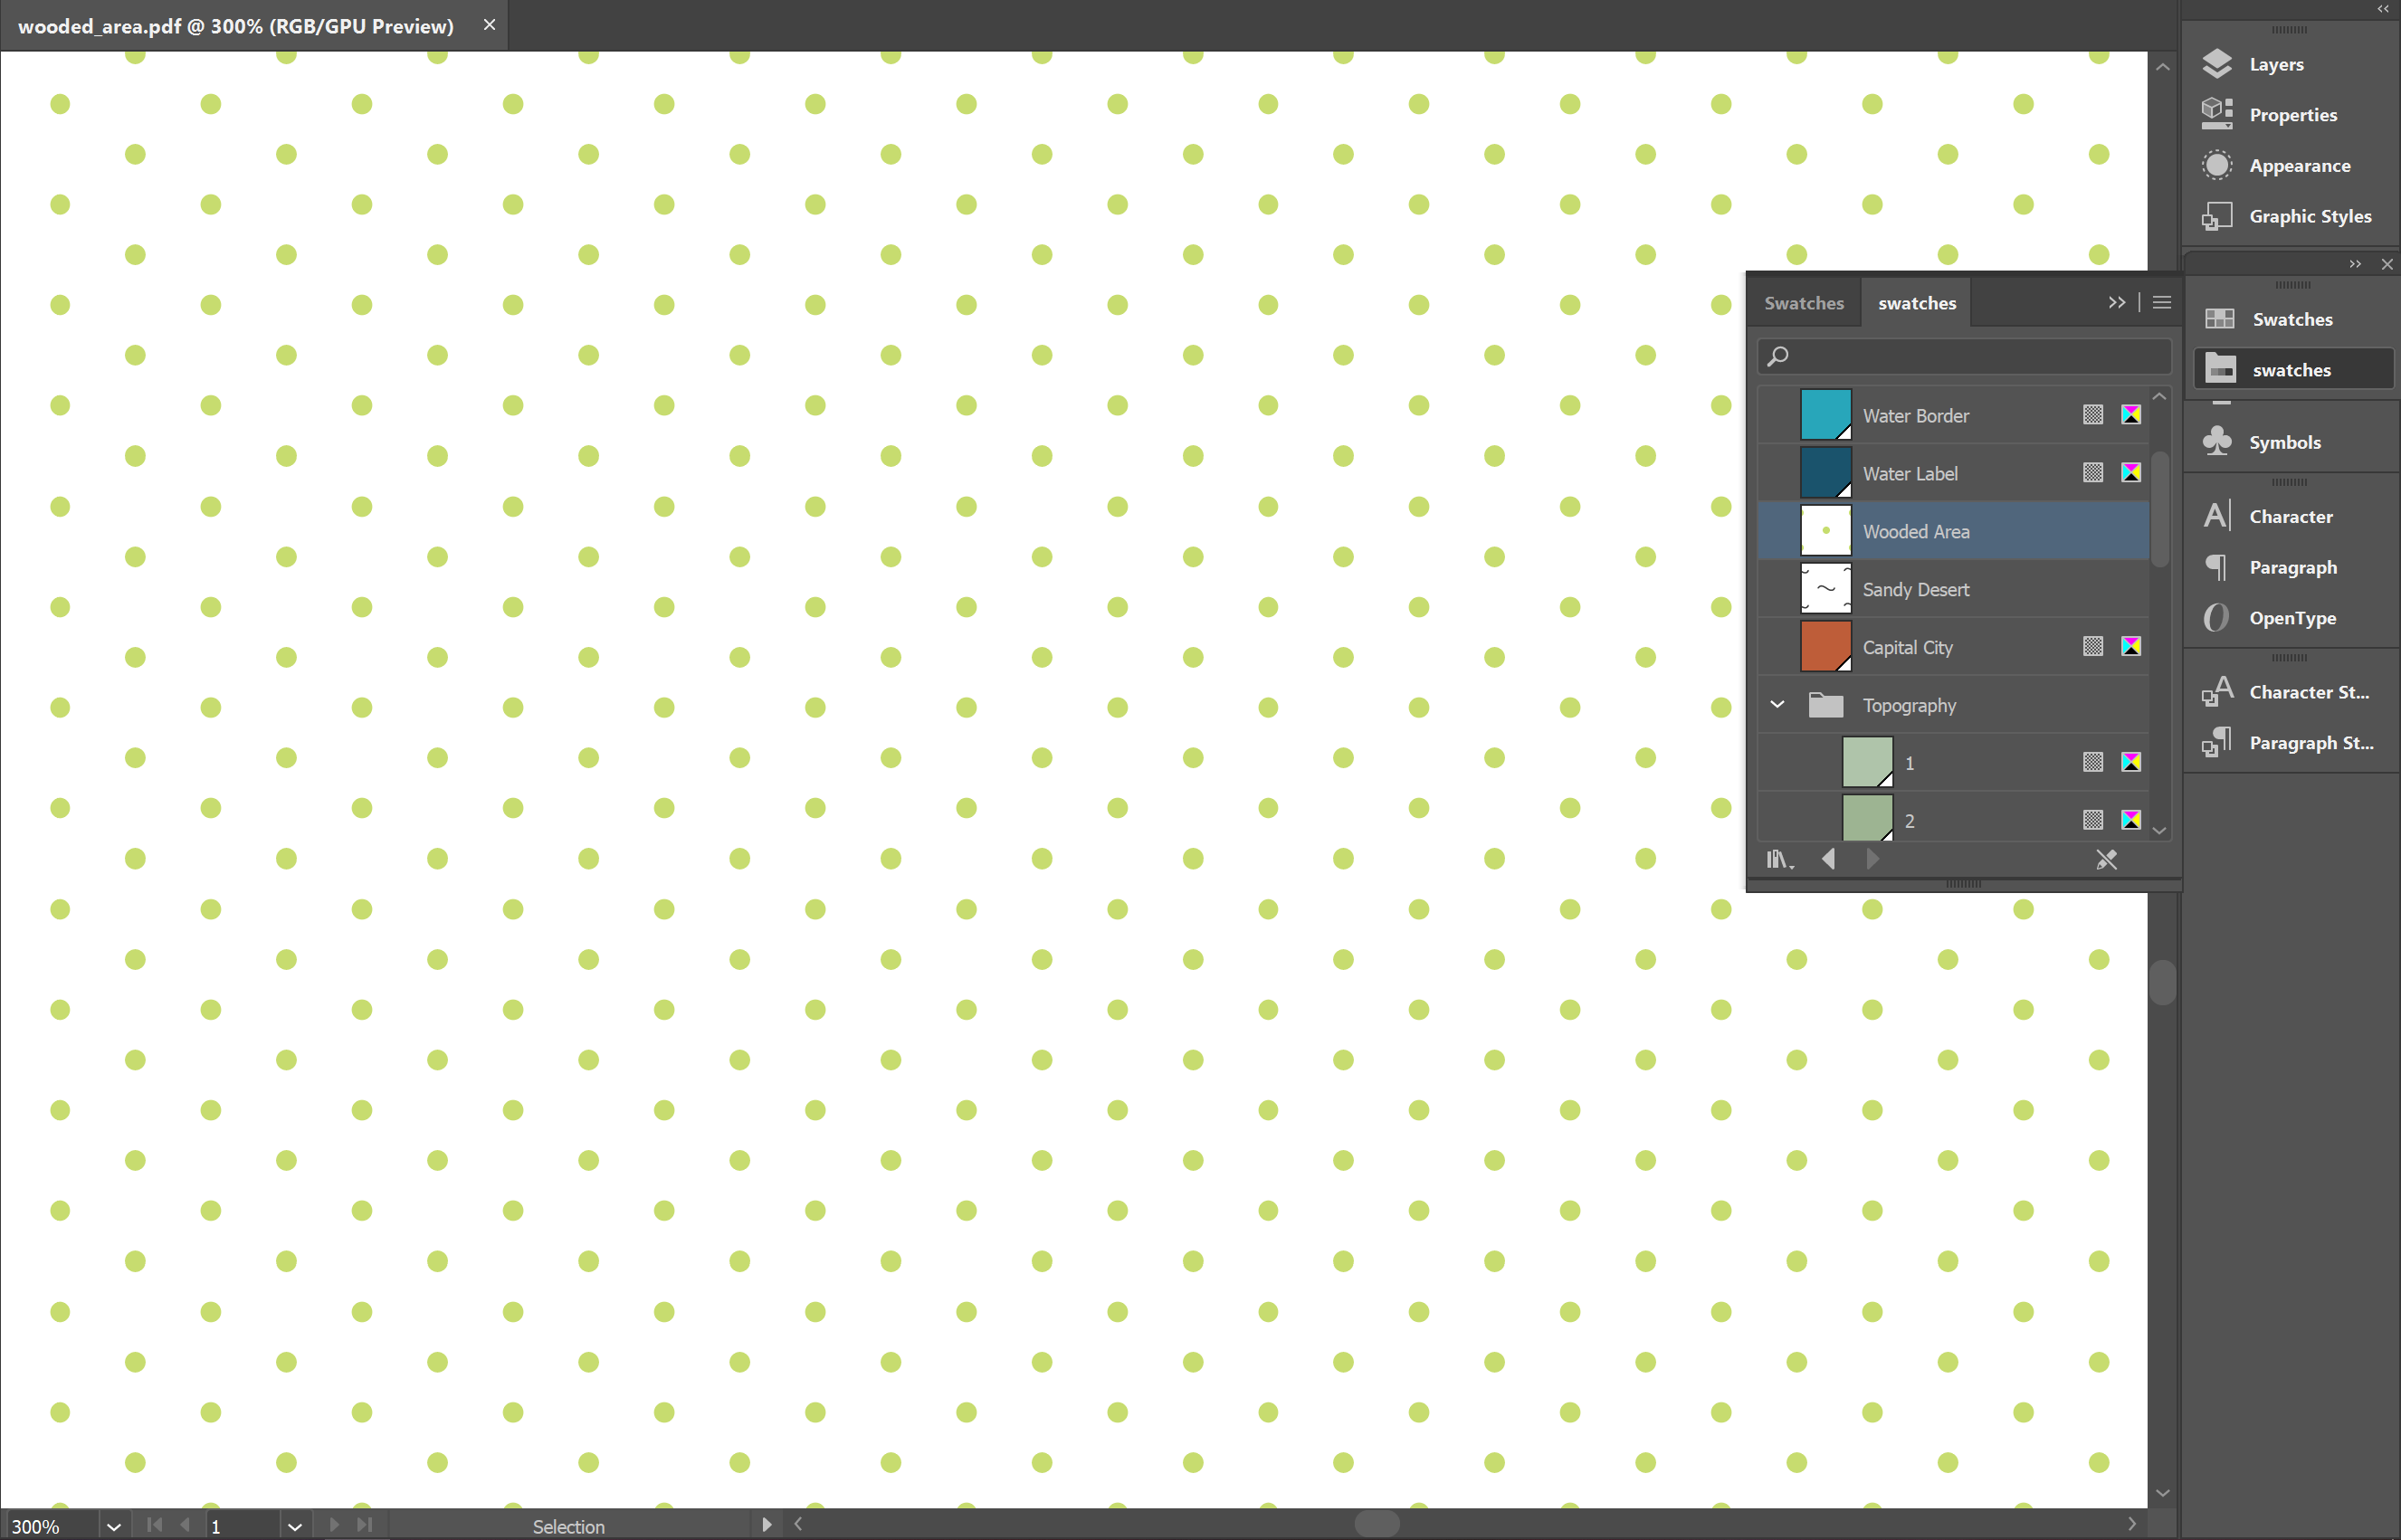
When I said big, I meant it.
With that, I can save the document as wooded_area.pdf. I tried svg, but the pattern didn’t seem to show up in Affinity when I did that.
Using the Pattern in Affinity Designer
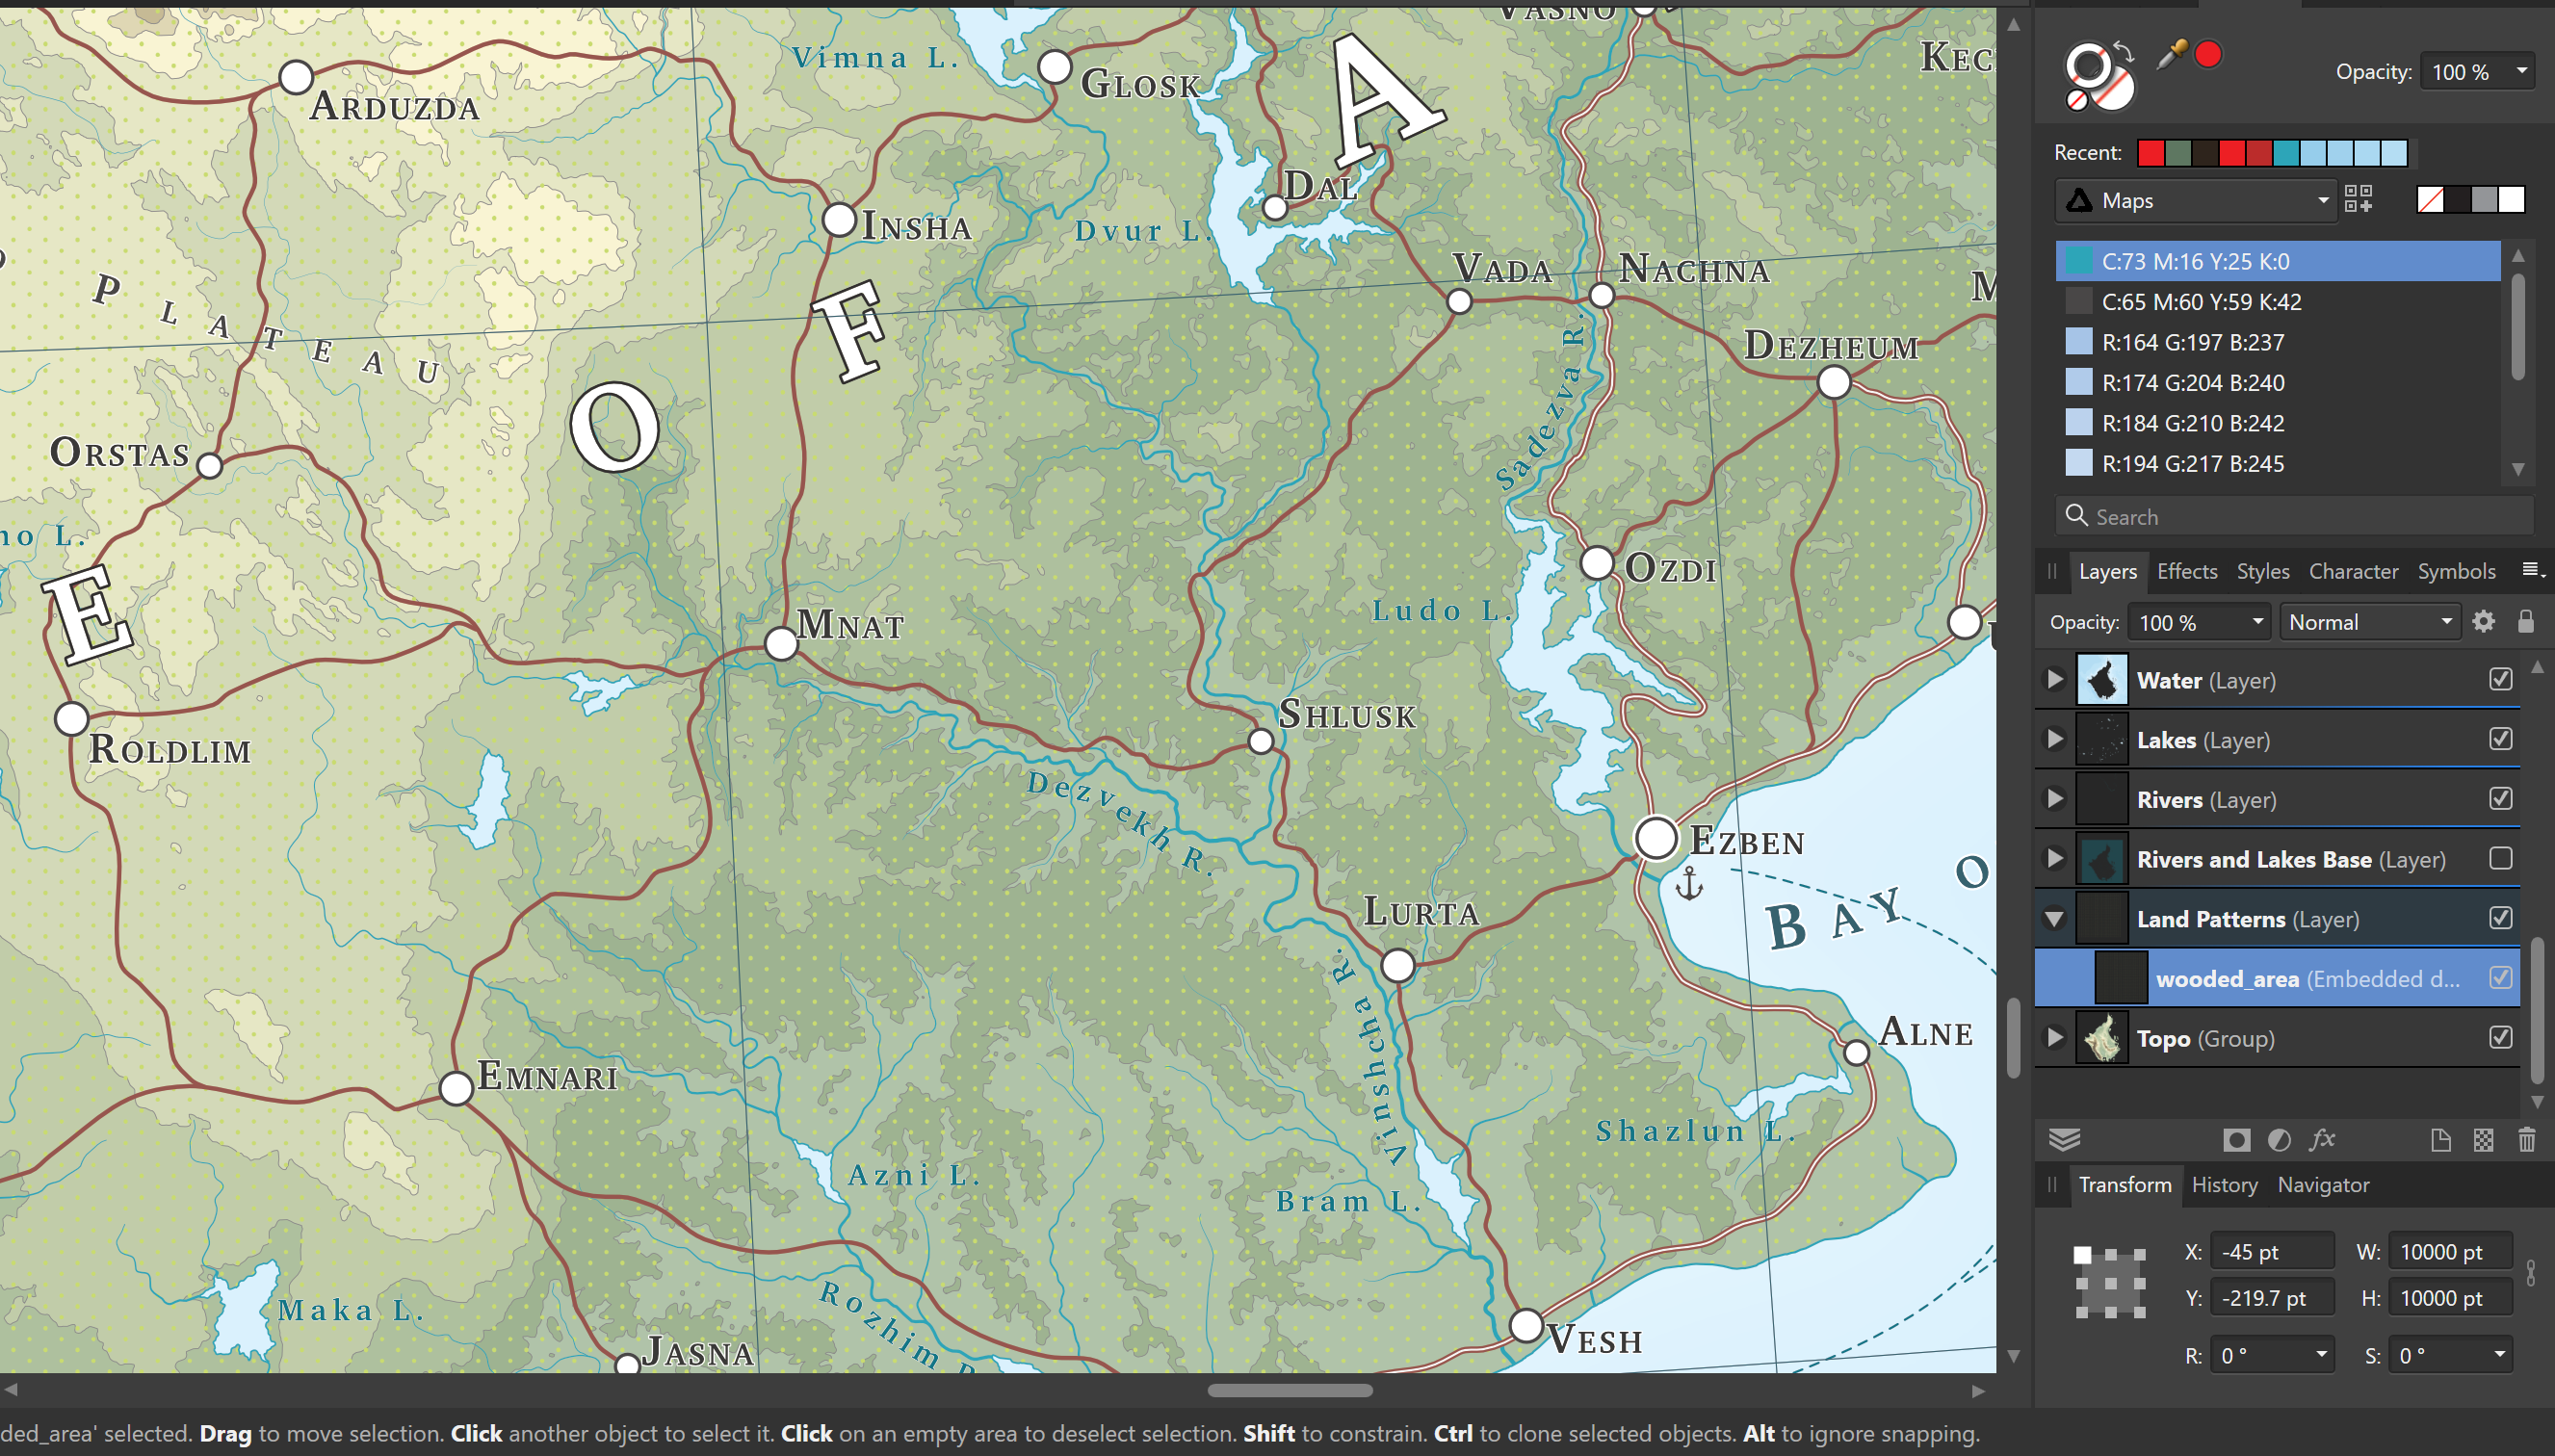
In Affinity, use File -> Place to add the pdf as an embedded document. I have mine in a Layer called “Land Patterns”. By default, it’s just going to cover everything.
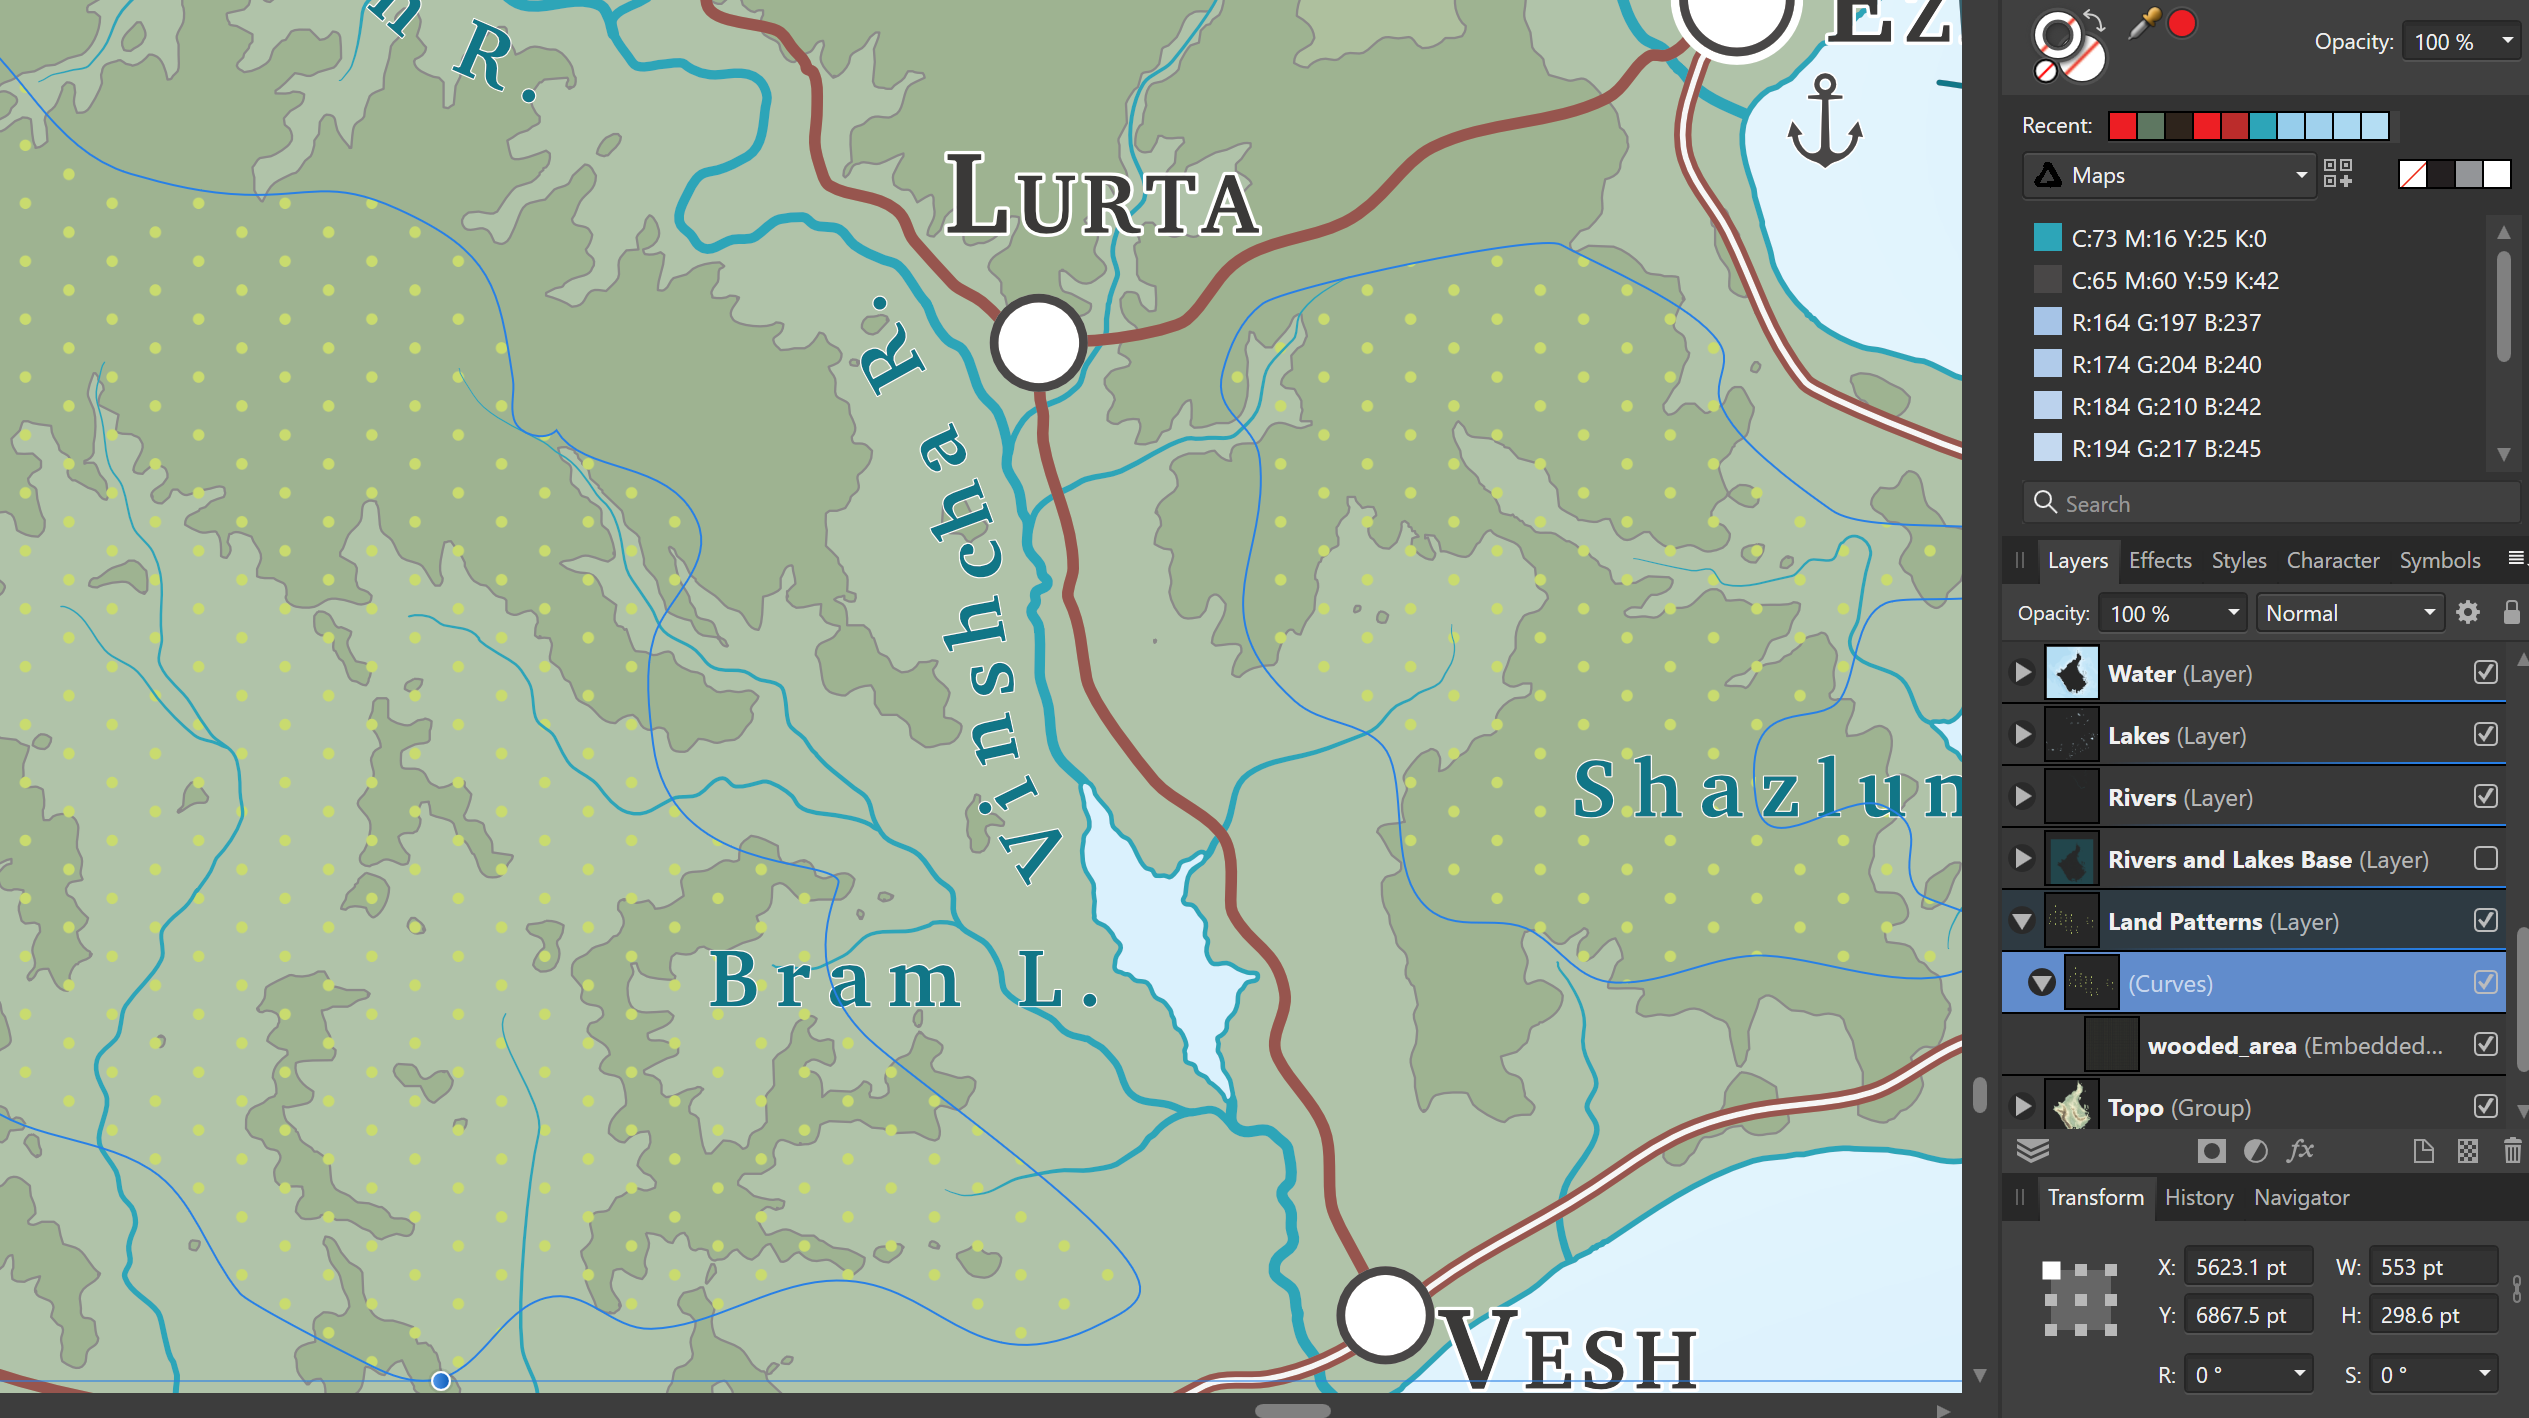
To get the pattern to show only where we want it, draw a closed curve:
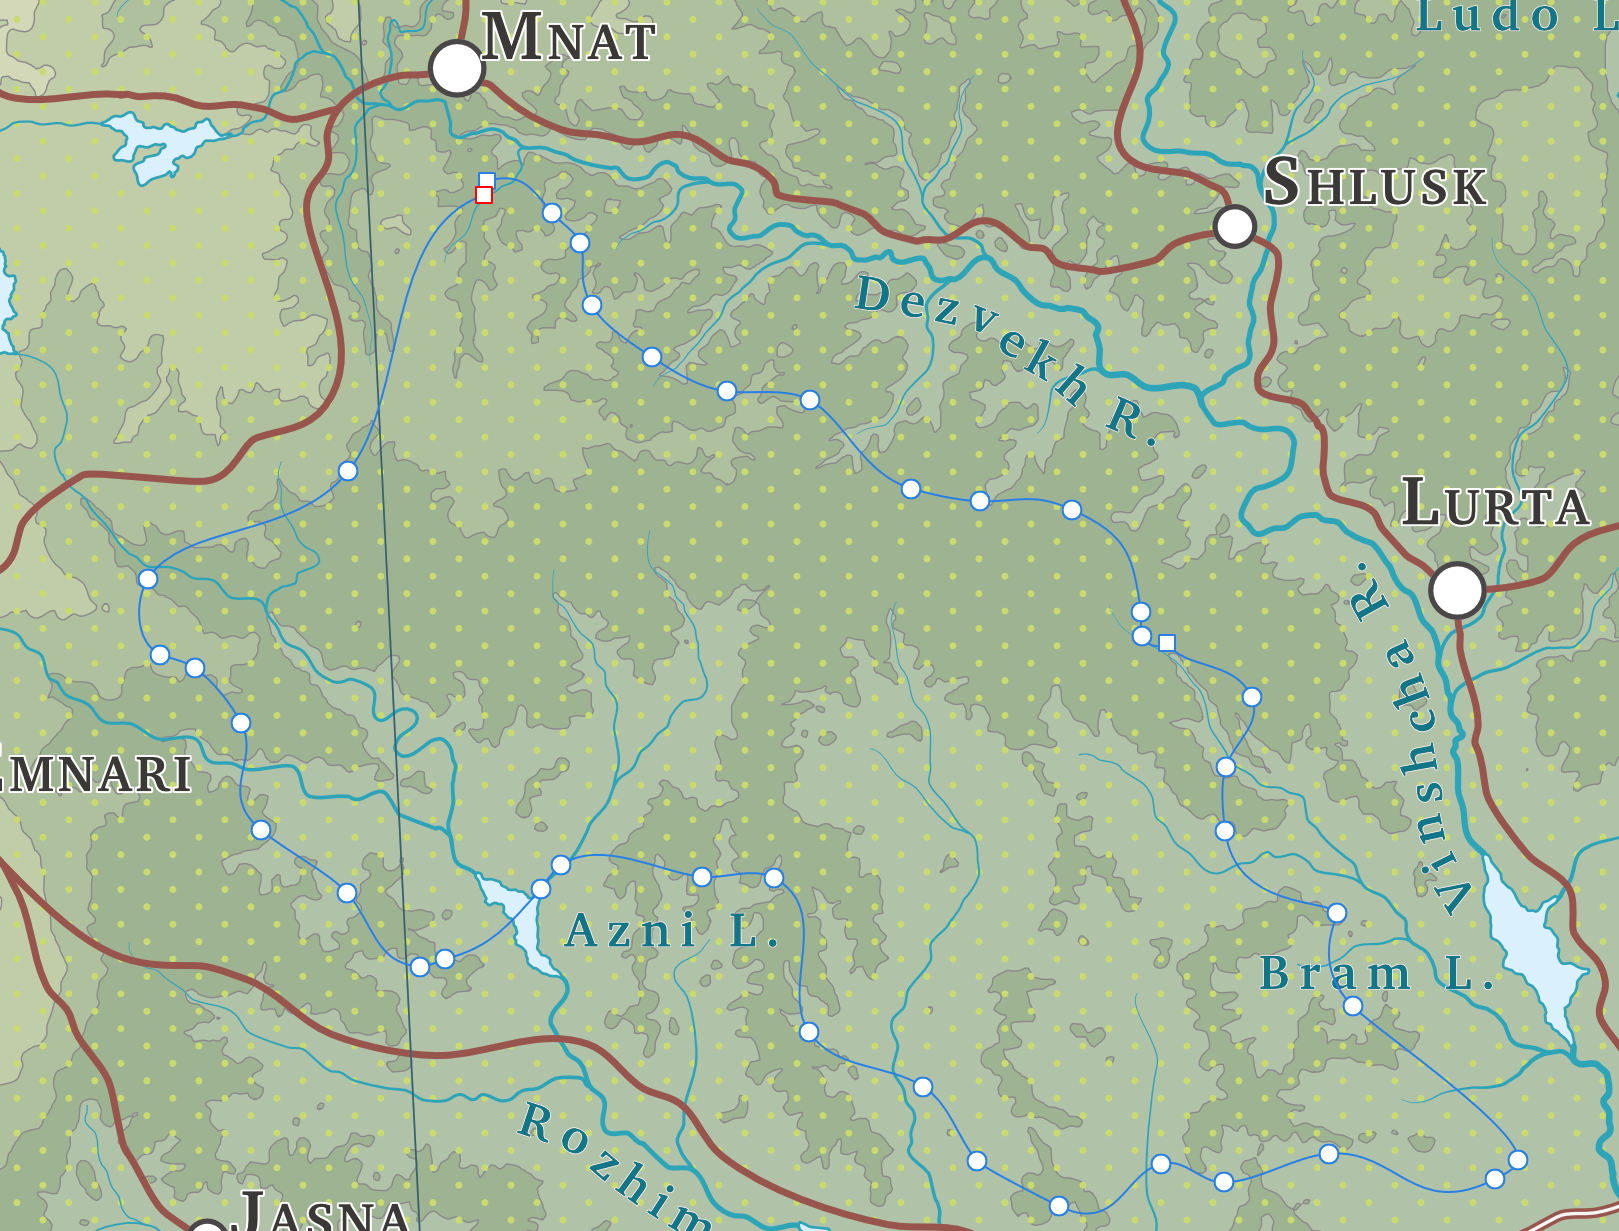
Drag the wooded area pdf inside the masking curve, and voila!
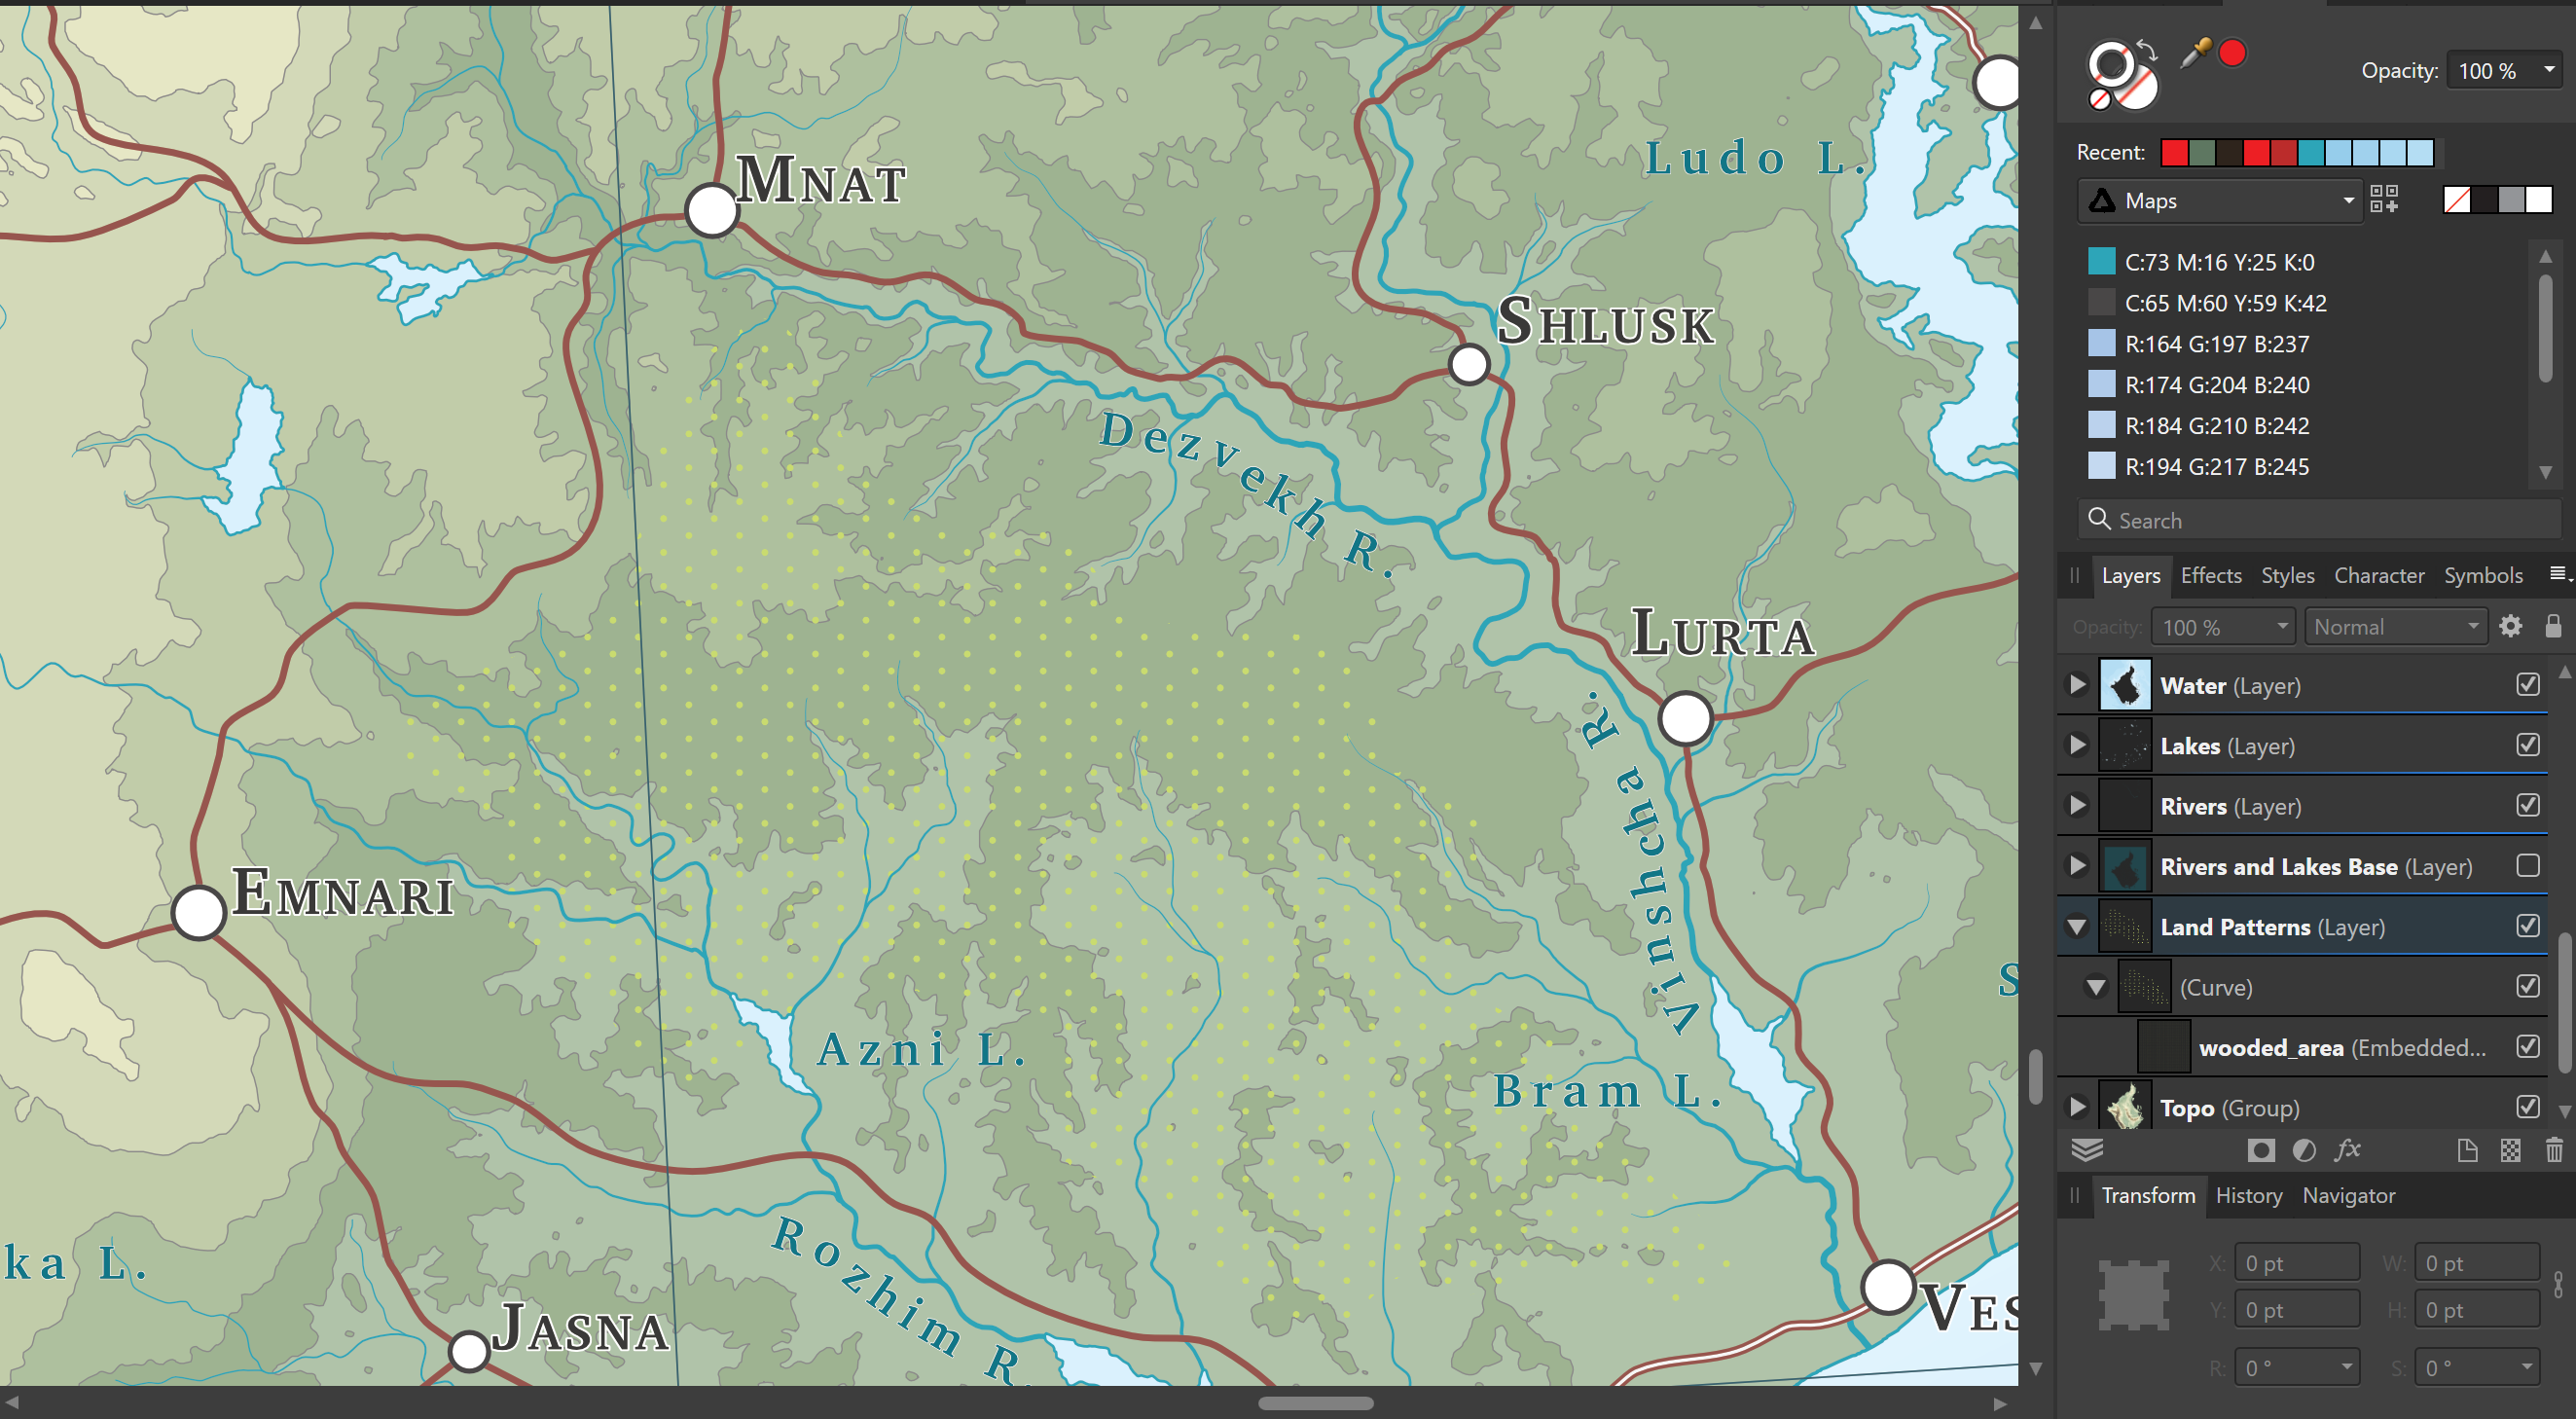
Since the pattern is filling pretty much the entire document, we can even draw even more curves and add them to the top level curve, effectively using the same base pattern for all of our different wooded areas
Well, there you have it! The steps are definitely more complicated that just using a pattern swatch in Illustrator, and you’ll have to go back to Illustrator, edit your pattern, and re-export the pdf if you ever want to edit your pattern (although, since the pdf is embedded, I think Affinity will update the document if it ever changes), but at least this method provides a way of doing something in Affinity I didn’t even think was possible.