Creating Fantasy Heightmaps from Real World DEMs
At the heart of all of my maps is a grayscale heightmap that I’ve created for my fantasy world. This heightmap is created by cutting, pasting, blending, and modifying real world DEM data. In this post, I’ll walk through how I properly scale my continental maps, set up my layers in photoshop, and how I actually blend terrain together.
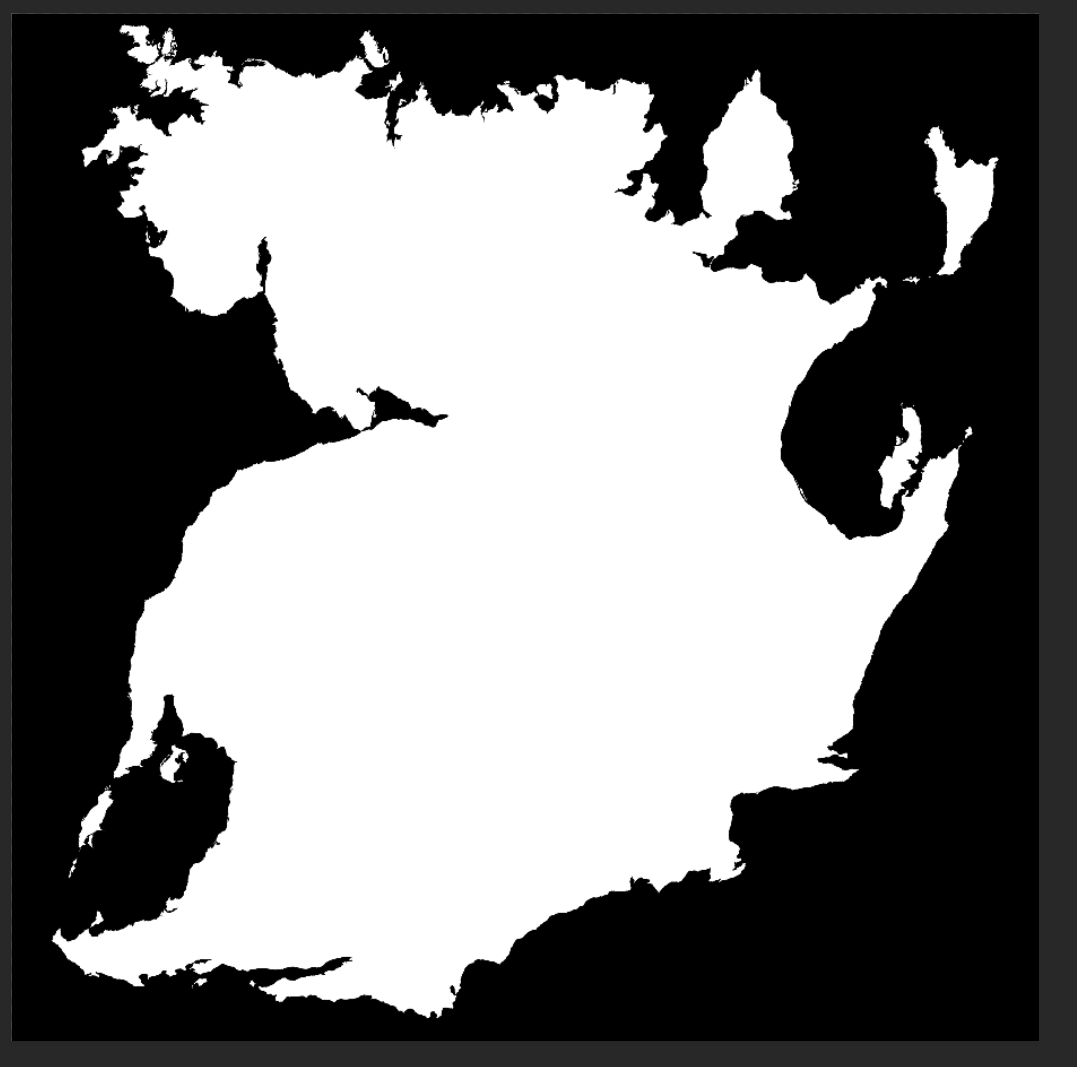
I’ll be starting with this continent mask:
Scaling the continent
The first thing you’ll want to do is scale the continent to match the source DEMs you’ll be using to create the heightmap. To do this, you’ll need to know how big your continent is. There are a ton of different ways to measure it if you have an equirectangular map (http://maptoglobe.com/, gplates, QGIS, etc.). I like to use the Alps for this, but you could just as easily use any other earthly feature that is easily identifiable from your source DEMs.
I know, from looking at Google Earth, that the alps are roughly ~900 km long (in a straight line). In gplates, I’ll measure a line roughly that long between two points, like so:
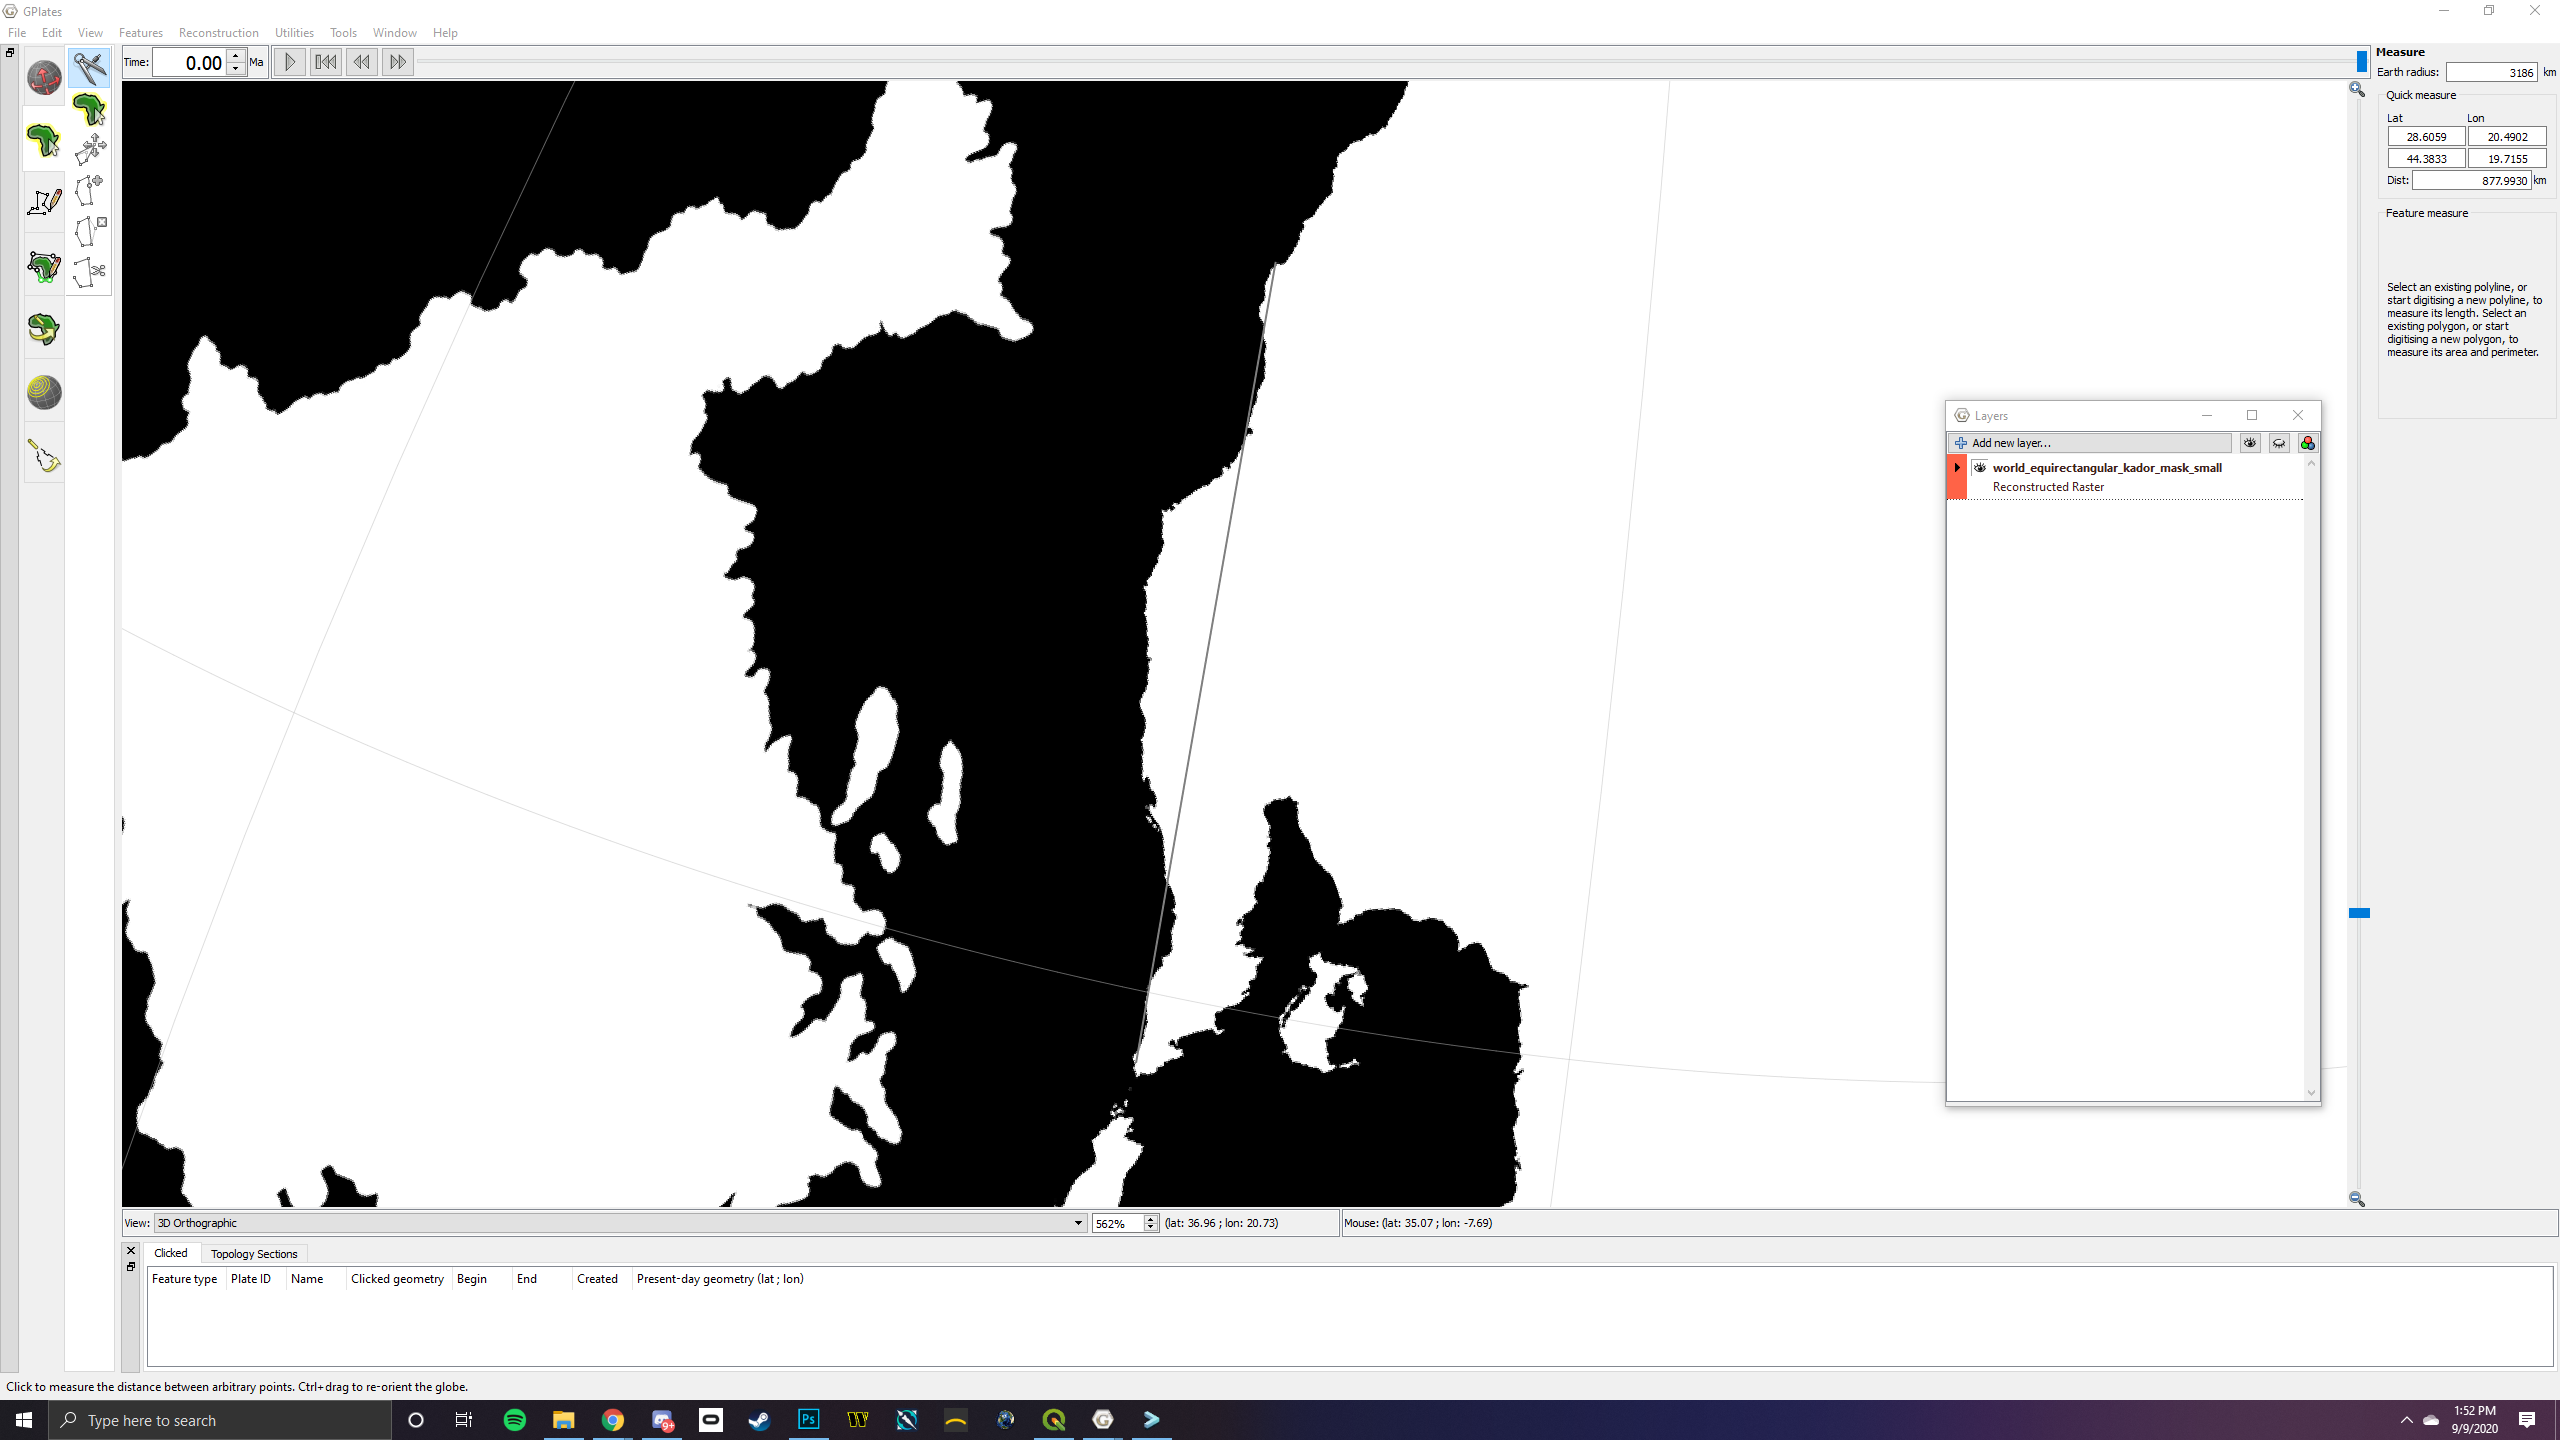
In Photoshop, I’ll cut the Alps from my eurasia source DEM and paste it into my heightmap, lining it up with the reference points I layed out in gplates. Remember, this is a rough estimate. I’m not trying to perfectly scale this. Within a few hundred km’s should be good enough. Change the resolution of your base heightmap until the Alps are roughly the same length as the distance you measured in gplates or similar:

For my continent, it ends up being 14551 x 14550 pixels.
Photoshop layers setup
Before actually adding any data to the heightmap, I’d like to talk about how I have my layers set up in Photoshop to help aid in building the heightmap:
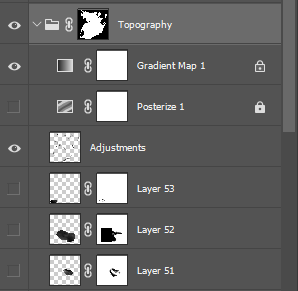
The top group, labelled Topography, contains all of the peices that make up my heightmap. I have applied a mask to it, which is the overall land mask of the continent, slightly blurred (usually only a few pixels). This ensures that I keep my continent shape when placing peices of DEMs. The Gradient Map and Posterize are to aid in creation of the map. The gradient makes it much easier to see the changes in elevation, especially at lower values. You can download my gradients (topography and bathymetry) for Photoshop here.
Below that is a layer called adjustments. This layer is one way I modify the underlying data. By adding either small amounts of black and white to the adjustments layer, usually done at 5-20% opacity, I can modify the resulting elevation. I use this layer a lot to lower the elevation along the coastlines by adding layers of black.
Beneath the adjustments layer is my actual DEM data that makes up the overall heightmap. I usually apply adjustment masks to these to clip the data to however much I want.
Beginning to build the heightmap
I’ll be honest, there isn’t really any sort of secret to doing this. A lot of it is gut feel and trying different things to see what works. But what I’ll outline below is a few of the techniques that I’ve started to develop while building these heightmaps. Something that would probably help is to establish rough areas of mountains, valleys, etc. before beginning to place things. If you are a tectonics aficionado, you may have already worked out exactly where your orogenies and the like are, and if so, great! Use those as a guide for where to place things. If you aren’t, like me, then https://maps-for-free.com/ is your friend. By studying this map, you can get a feel for what sorts of topography looks natural, and the distribution of elevations that are common. Really, though, I don’t try very hard to make things look natural beyond knowing where major plate boundaries are. Everything else is just a lot of experimentation and studying the real world to make something that looks plausible “enough”.
The only thing left to do at this point is to start cutting and pasting! This is more of an art than a science, so just have at it.
Adjusting for coastlines
One of the first things you’ll want to do is adjust for coastlines. Take this bit that I posted into my map:
Notice that much of the coastline is rather high in elevation, all the way up to the ocean. This obviously shouldn’t happen in real life very often unless you have sheer cliffs. In order to fix this, I apply some black, usually at 15% opacity or so, to the adjustments layer, until my coastlines look a little more natural:

Merging bits together
In order to make things look seamless, you’ll want to “meld” all of your DEM bits together, creating one seamless heightmap. Take, for instance, this bit of data I’ve just pasted in to extend a coastal mountain range:
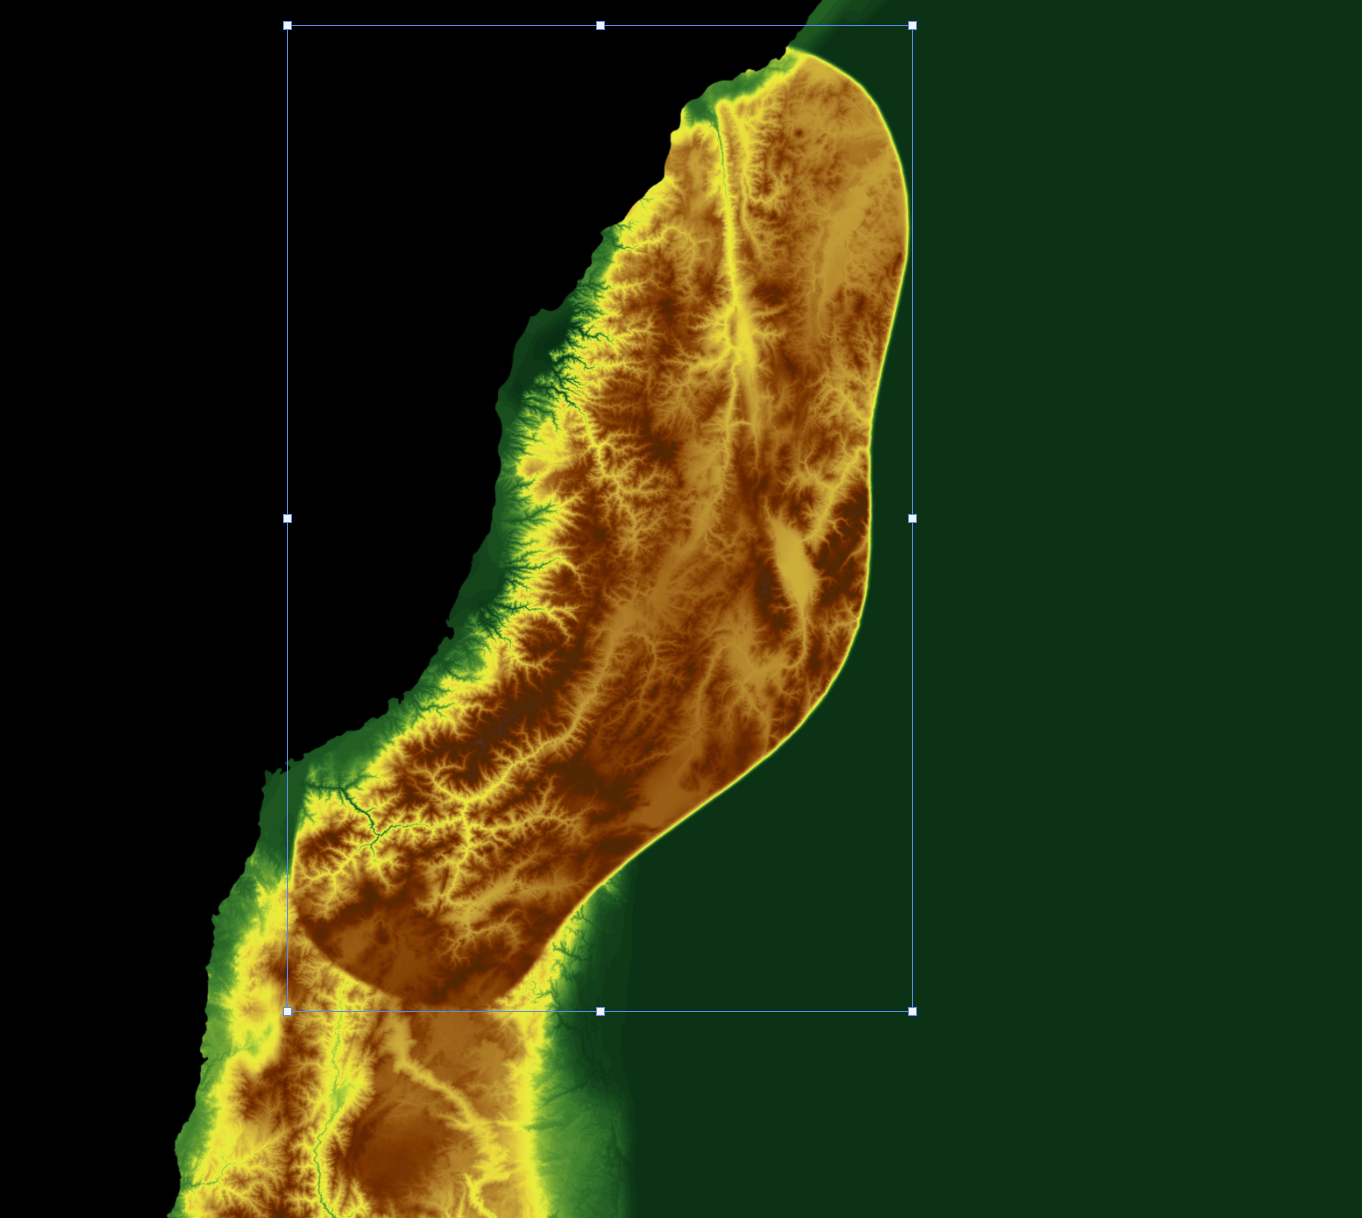
Note that the way I have arranged the new data, it overlaps with the existing data a bit. This will be important for blending.
I’ve already flipped and rotated it so that it is roughly in the position that I want, but it doesn’t seamlessly blend together with the data that’s already there! There are two things we can do to make this look better.
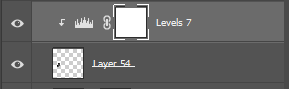
Add a levels adjustment, clipped to the new layer, and adjust them so that the height values roughly match the surrounding data:

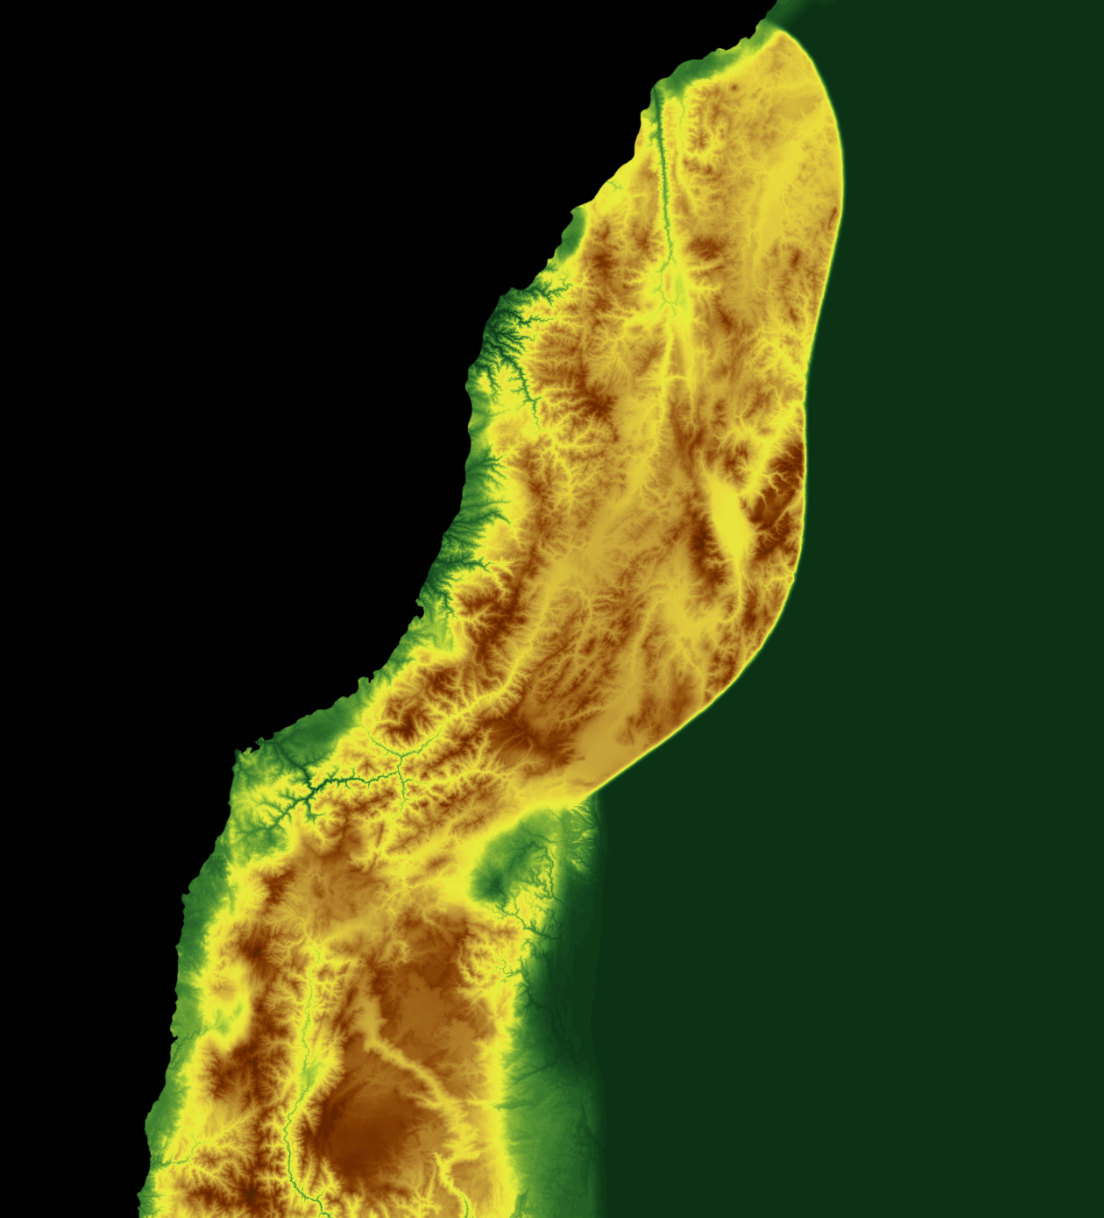
Next, add a layer mask to the new data. Using a low opacity black, very gradually mask the edges of the data to blend it in with the existing terrain:
General Guidance
Everything I do to create my heightmaps is some combination of layering, subtle masking, clipping, adjustment layers, and levelling. To build up an entire continent, it just takes doing those things over and over until you get something that looks plausible and complex.
Don’t be afraid to delete parts and start over if it just isn’t working.
When copying data over, try to line up valleys and ridges of mountain ranges. Remember, though, you can also always adjust the values of certain pieces to more seamlessly blend bits together.
Overlapping is your friend. The more you overlap different pieces, the more you can use masking to gradually transition between different bits of data.
The larger of pieces you cut and paste, the less blending work you have to do. On the other hand, using smaller pieces will better allow you to conform to your coastlines and general plan for terrain. I recommend using larger bits to start with, then filling in gaps with smaller bits of data to change the overall shape of the terrain until you are satisfied.
Another use of the adjustments layer is to fill “holes” in the terrain. In general, with very few exceptions, your topography should not have any “depressions” in it, where water flows would pool (endorheic basins exist, but they are pretty rare). In general, you want your terrain to flow all the way to the coast, which means you shouldn’t have random points of low elevation in the center of your continent. If you do end up with this, either try new bits of data to fill in the holes, or use adjustments to “match” the surrounding terrain. The posterize layer is good for this, as it will show depressions pretty clearly.
You can also repeat this same process for bathymetric data to create a heightmap of your oceans. This is honestly much easier, since your heightmap does not need to follow any sort of erosion “rules”.
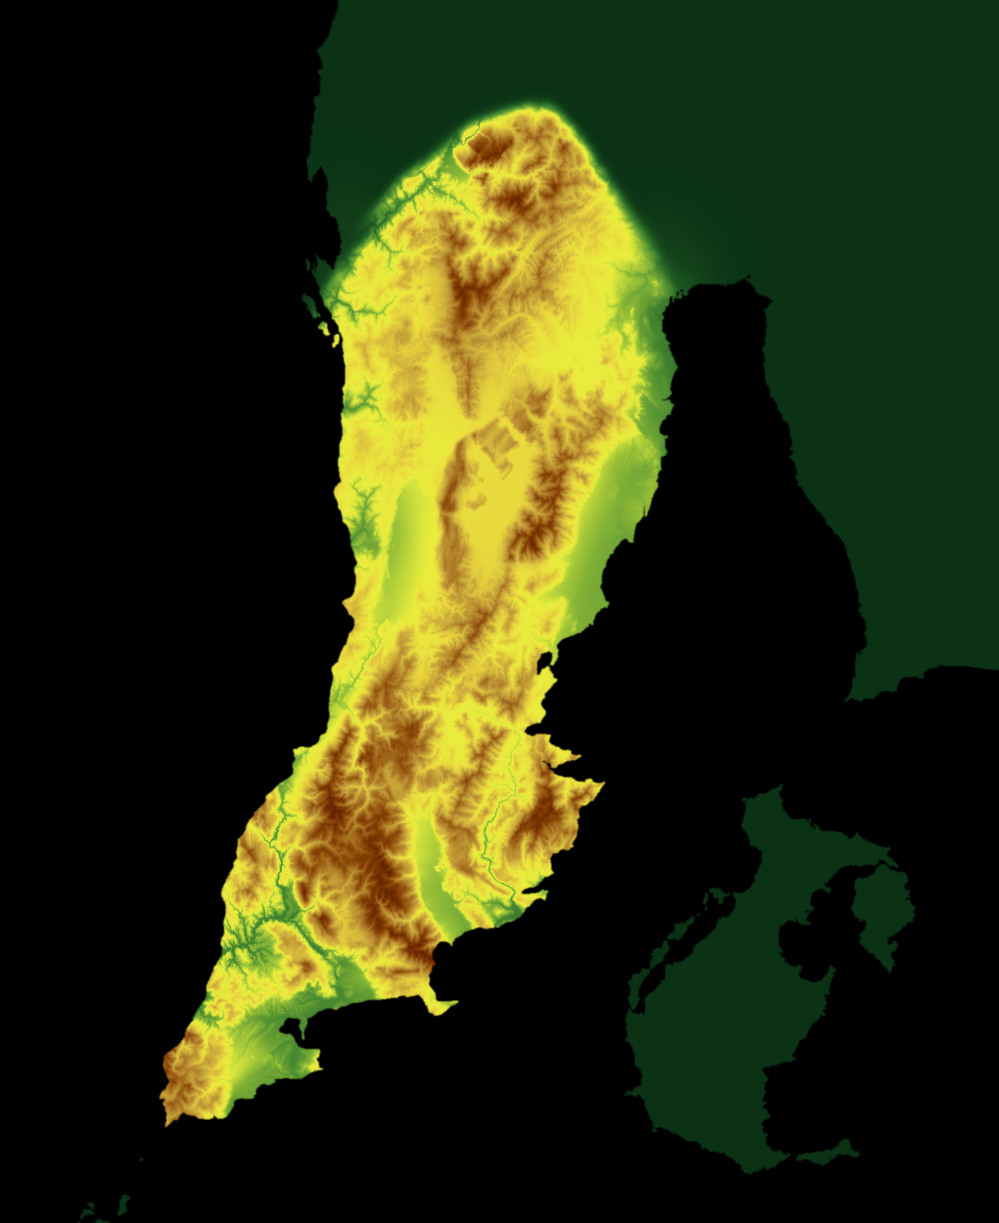
Here is my current progress so far on this continent:
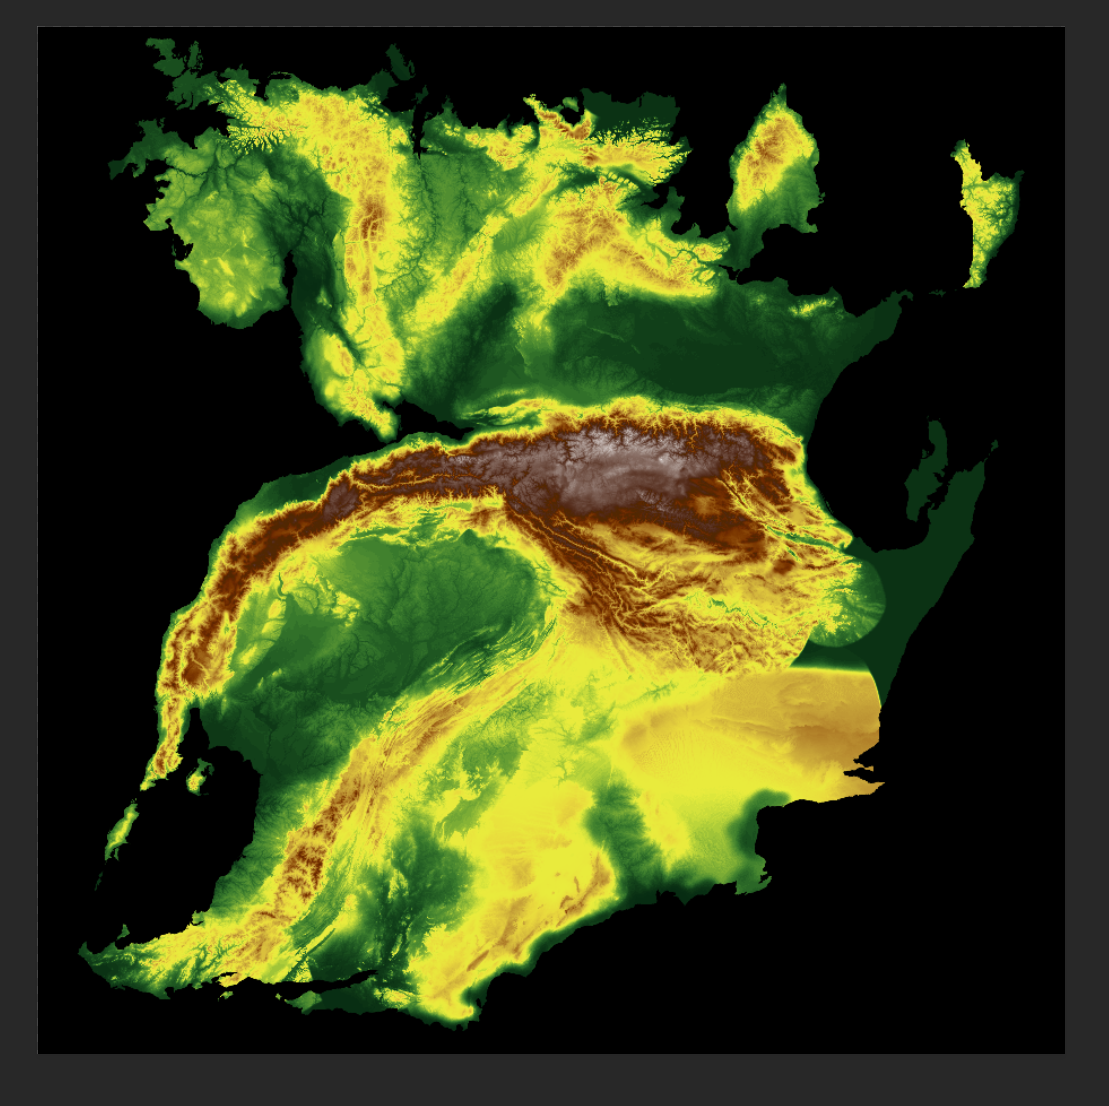
Once I’ve finished adding everything, the last stage of the heightmap process will be filling any basins I may have missed, and adding on some terrain to parts of the coastline that might look unnatural.
Thanks for reading!